Whipped Chocolate Milk
As a participant in the Amazon Services LLC Associates Program and other affiliate programs, Quick Prep Recipes may collect a share of sales or other compensation from the links on this page. This comes at no additional cost to you, and all the prices and availability are accurate at the time of publishing.

I started making this whipped chocolate milk when I wanted something indulgent and fun that the whole family could enjoy year-round, and it has been one of our most-requested drinks ever since. The whipped chocolate layer is rich, velvety, and almost impossibly easy to make with just a handful of ingredients, and you can serve it warm or cold, depending on the mood. Think of it as a caffeine-free take on the viral Dalgona coffee, except my kids would argue this version is even better.
At Christmas, we love a cup of peppermint hot chocolate or non-alcoholic eggnog, but this whipped chocolate milk is our go-to comfort drink for every other day of the year. It’s the kind of quick, minimal-ingredient recipe that feels special enough to serve at a weekend brunch but easy enough to throw together on a Tuesday afternoon when everyone needs a little something extra.
Why This Recipe Works
- Quick chocolate fix
- Easy ingredients
- Rich and velvety
- Delicious hot or cold
- Easy to customize
- Make-ahead friendly: Whip up the topping in advance and store it in the fridge to upgrade your next milk moment instantly.
How to Make Whipped Chocolate Milk
If you thought chocolate milk couldn’t get any better, this milk with chocolate whipped cream will change your mind. It’s my favorite take on the classic treat, and it’s the easiest, too. In fact, my kids already make this on their own. It’s also perfect for busy days when you need something to lift your mood fast.
Scroll to the bottom of this post for a printable recipe card with a full list of ingredients, measurements, and step-by-step instructions.
Ingredients You Need
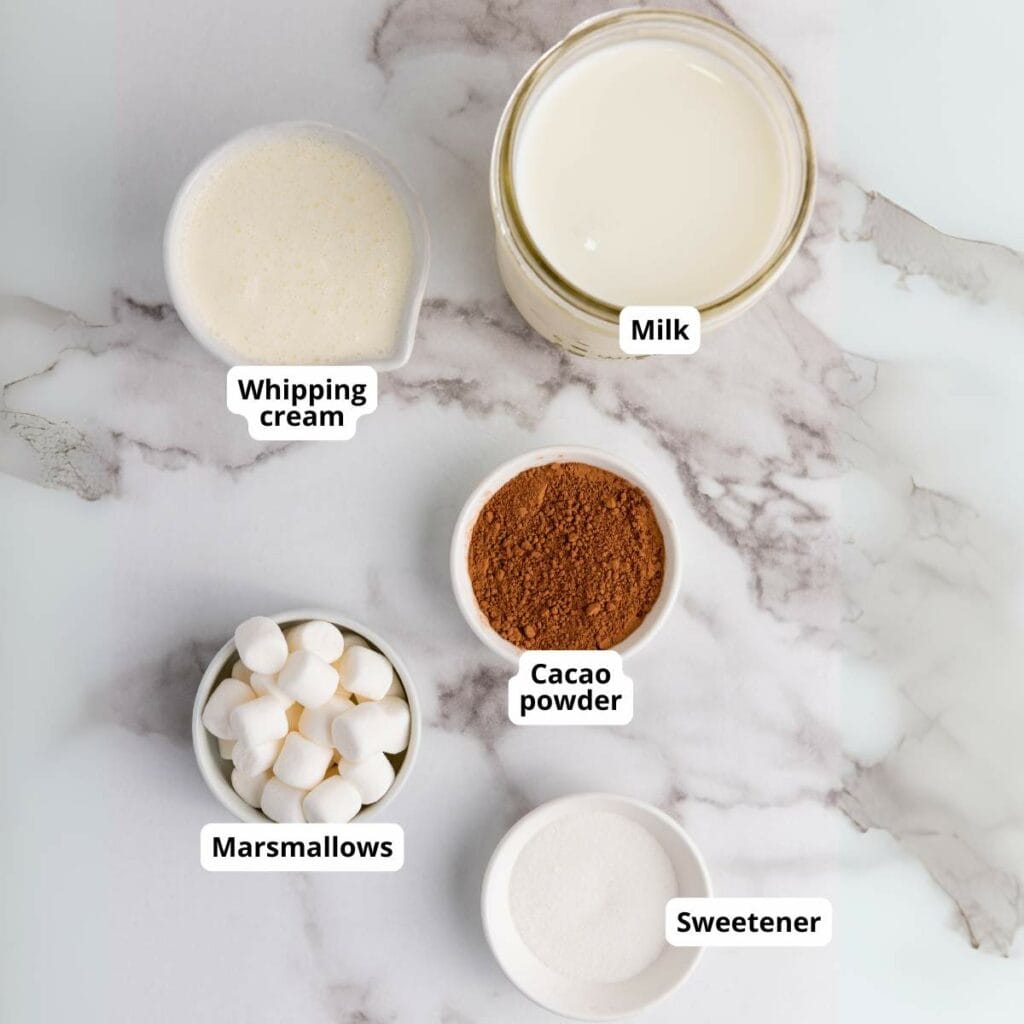
- Milk: Whole milk is my favorite, but you can use whatever kind you like, dairy or non-dairy.
- Whipping cream: Chill your bowl and beaters before whipping the cream for quicker, fluffier results.
- Cocoa powder: I use Hershey’s cocoa powder, but any brand will do.
- Sugar
- Mini marshmallows
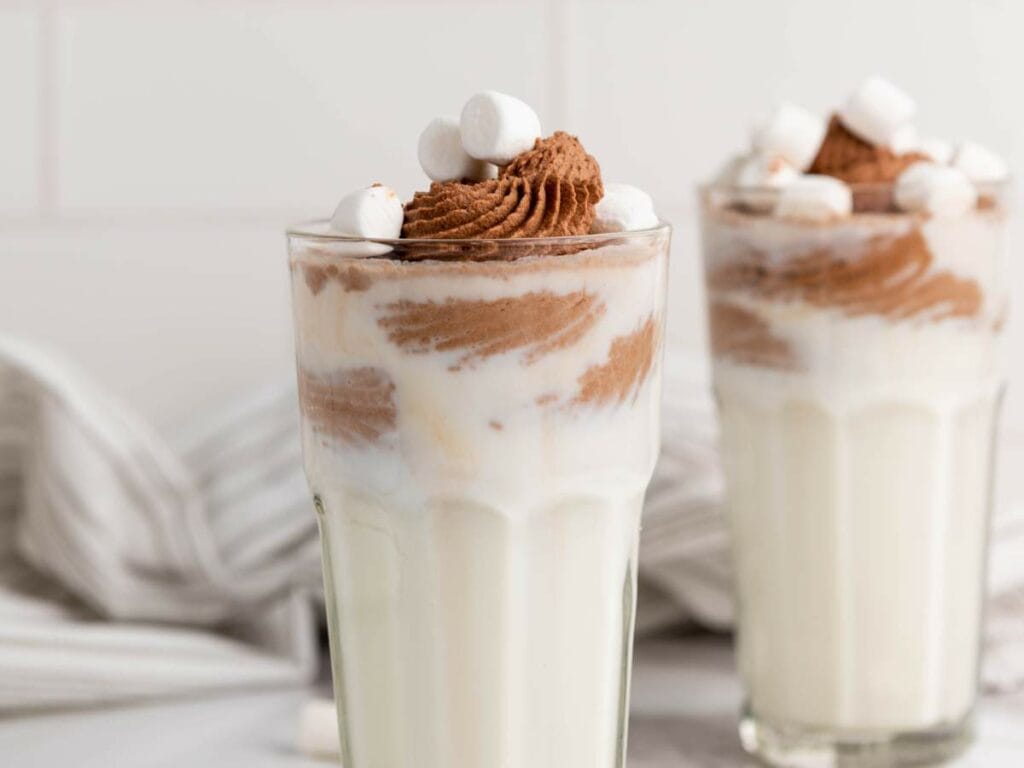
Step-By-Step Instructions
It takes 4 simple steps to make this indulgent whipped chocolate milk. You’re only a few minutes away from the ultimate chocolate lover’s dream come true!
- Make the whipped chocolate cream.
- Pour warm or cold milk in serving glasses.
- Add the chocolate cream.
- Garnish and serve.
Substitutions
Whipped chocolate milk requires easy ingredients you probably already have at home. In case you don’t have some on hand or prefer to use alternatives, try these ingredient substitutions:
- Milk: Whole milk is ideal for creaminess, but 2% also works.
- Cocoa powder: Use Dutch-processed cocoa for a smoother, less acidic flavor, or raw cacao powder for a more intense chocolate profile.
- Sugar: Substitute with powdered sugar or with liquid sweeteners like honey or maple syrup.
Expert Tips
- Use cold cream for a better whip: Always start with cold whipping cream straight from the fridge. It whips faster and holds its structure better, giving you that fluffy, cloud-like topping.
- Don’t over-whip: Stop whipping once soft peaks appear for a silky, spoonable texture that blends perfectly into the drink. Overwhipping can cause it to turn grainy or even start turning into butter.
- Add a fun twist: Mix in a drop of vanilla, peppermint, hazelnut, or almond extract.
- Make it party-ready: Serve whipped chocolate milk in mini glasses with whipped cream and sprinkles, or top with chocolate shavings, crushed candy canes, or a caramel drizzle for extra flair.
- Turn it into a dessert: Double the whipped topping and chill it a bit longer, then dollop over a slice of cake, pancakes, or fresh berries for an easy, indulgent treat.

How to Store This Recipe
If you have leftover whipped chocolate cream, store it in an airtight container in the fridge for up to 24 hours. Just give it a quick stir before reusing, as it may lose a bit of volume.
The milk portion is best fresh but can be stored separately in the fridge for 2 to 3 days. To reheat, warm the milk gently (don’t boil), then top with the chilled whipped cream for a cozy, creamy treat.
What to Serve with Whipped Chocolate Milk
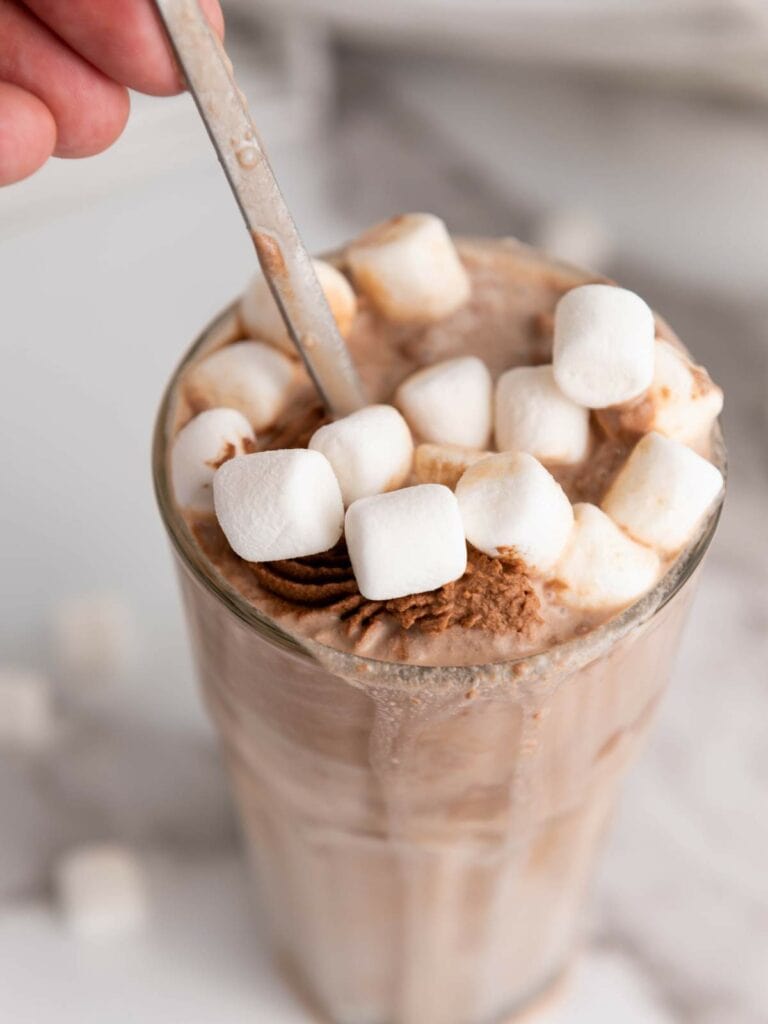
Whipped chocolate milk is best enjoyed immediately in a tall glass with a long spoon or straw for peak texture and wow-factor. The whipped topping holds for a while, but the fresher, the better!
It pairs perfectly with cookies like shortbread and biscotti, or with puff pastry palmiers for dunking. We also enjoy this with magic cookies. It also goes well with buttery croissants, cinnamon rolls, or a slice of coffee cake for a rich, café-style treat. For something lighter, try it with fresh strawberries or a handful of salted nuts to balance the sweetness.
More Easy Chocolate Treats To Try
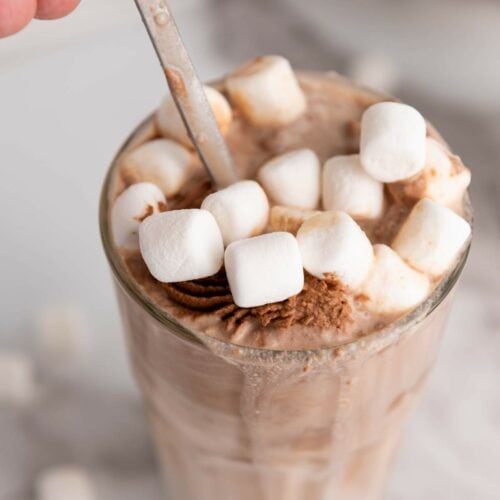
Thick And Creamy Whipped Chocolate Milk
Ingredients
- 2 cups milk of your choice
- ½ cup whipping cream
- 1 tablespoons Hershey cocoa powder or any cocoa powder of your choice
- 2 teaspoons sugar or to taste
- mini marshmallows for garnish
Instructions
- In a mixing bowl, combine the whipping cream, cocoa powder, and sugar. Using a hand mixer or a whisk, beat the mixture until it reaches stiff peaks. This may take a few minutes.

- If you want warm milk, heat it in a small saucepan over medium-low heat now. Otherwise, divide the milk evenly between two glasses.
- Transfer the whipped chocolate cream to a piping bag fitted with a large decorative tip of your choice. If you don't have a piping bag, you can also use a zip-top bag and snip off a corner. Pipe a generous swirl of the whipped chocolate cream on top of each glass of milk.
- Finish your whipped chocolate milk by garnishing it with mini marshmallows.