No-Bake Oreo Cake Pops (5 Ingredients)
As a participant in the Amazon Services LLC Associates Program and other affiliate programs, Quick Prep Recipes may collect a share of sales or other compensation from the links on this page. This comes at no additional cost to you, and all the prices and availability are accurate at the time of publishing.

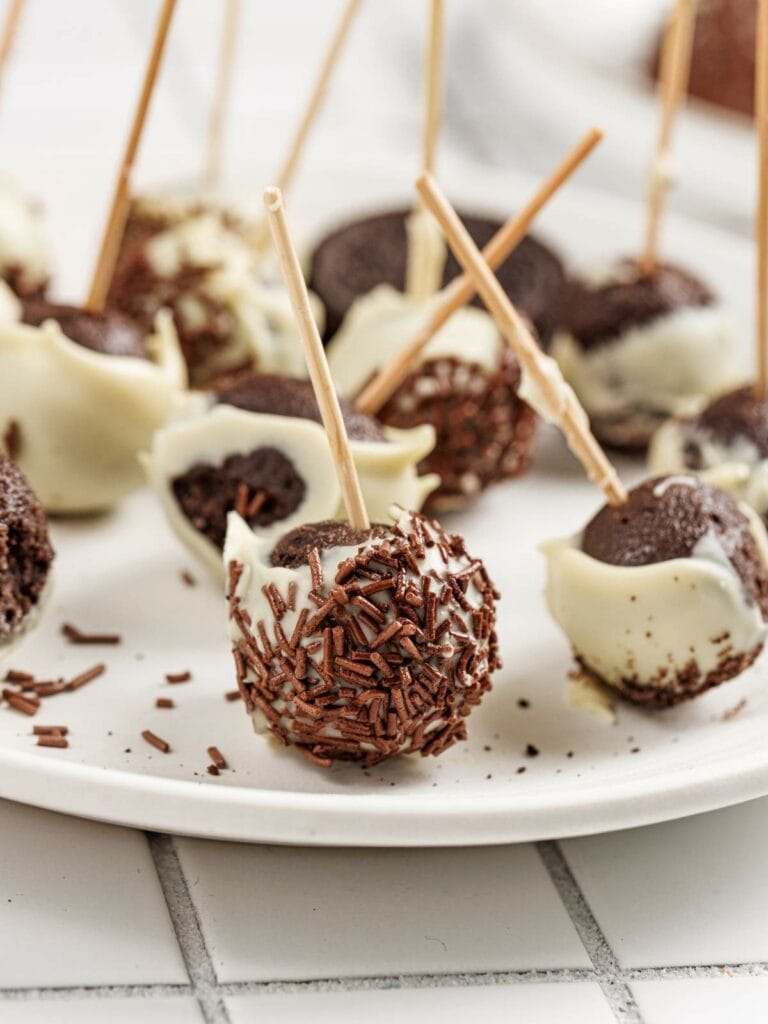
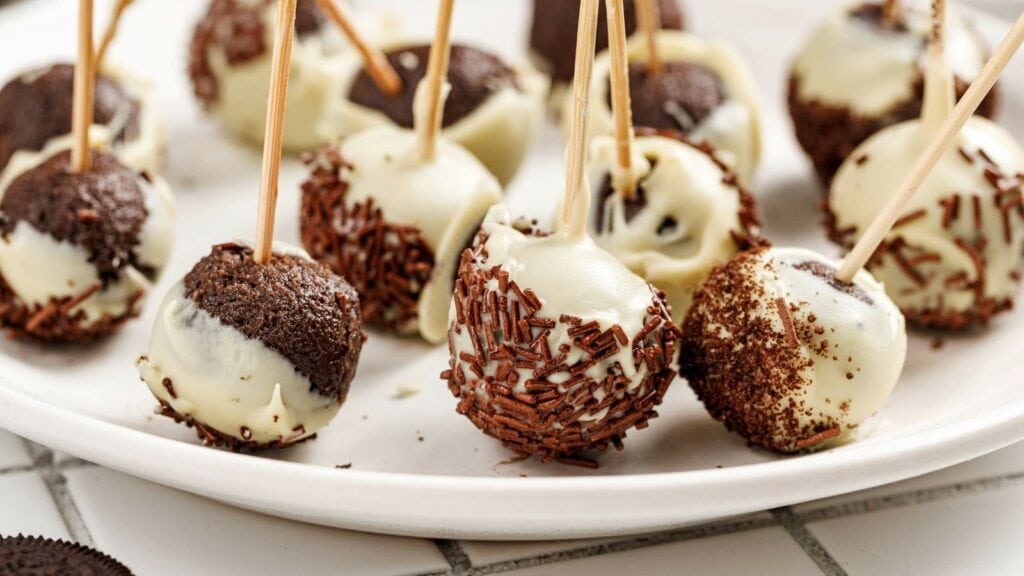
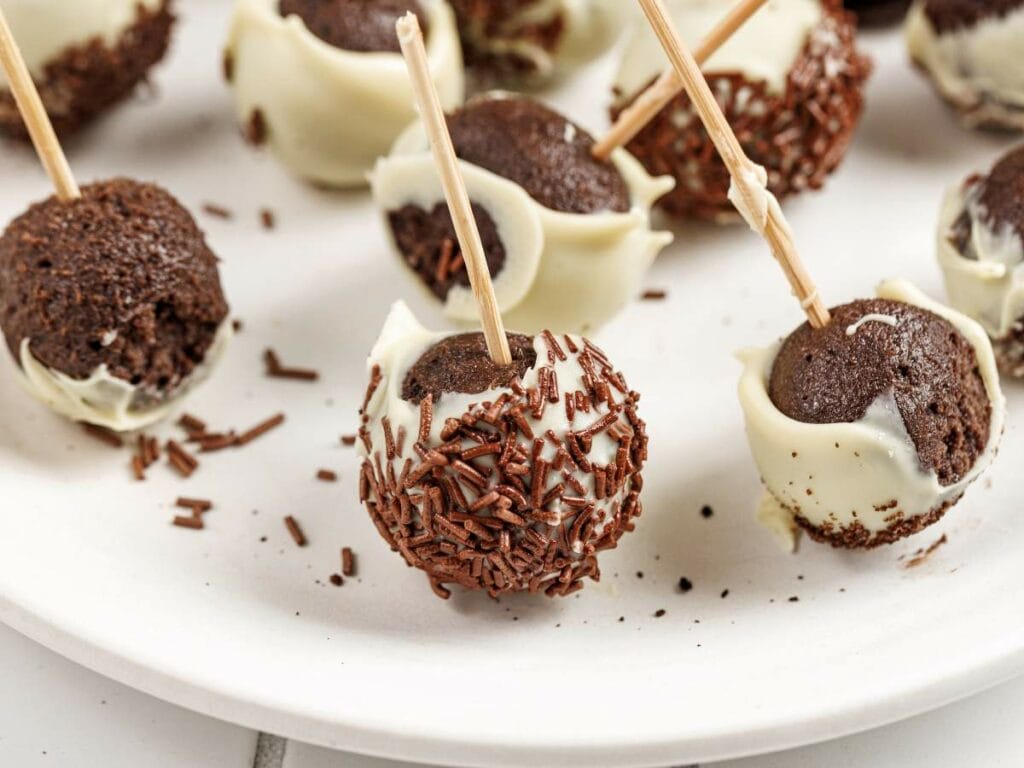
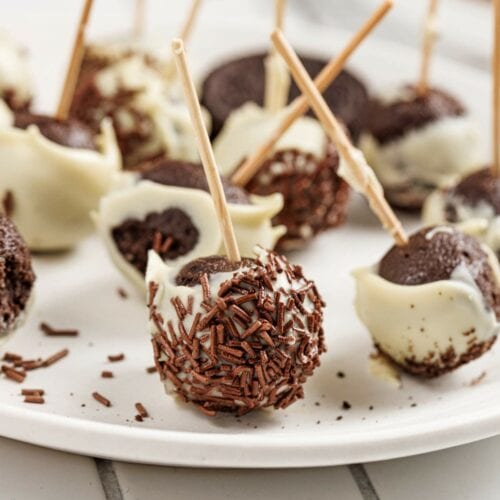
Seriously, your next party needs these Oreo cake pops! With just 5 ingredients, you can whip up an adorable treat that tastes like a cross between cookies-and-cream truffles and birthday-party magic. They’re smooth, rich, chocolatey, and always a hit with both kids and adults.
Popcorn balls and fudge are my go-to party treats, but when these Oreo cake pops came along, I knew I had discovered another crowd-favorite. These are playfully fun (who doesn’t love Oreos?), a breeze to make, and easily customizable. Whether you’re hosting a party, filling a holiday box, or want a potluck treat, these cake pops won’t fail you.
How to Make Oreo Cake Pops
These Oreo cake pops are just as fun to make as they are to eat. Just mix, roll, dip, and decorate. It’s a hands-on, playful recipe that turns simple ingredients into bite-sized treats everyone will love. This is one of my favorite recipes to make with my kids!
Scroll to the bottom of this post for a printable recipe card with a full list of ingredients, measurements, and step-by-step instructions.
Ingredients You Need

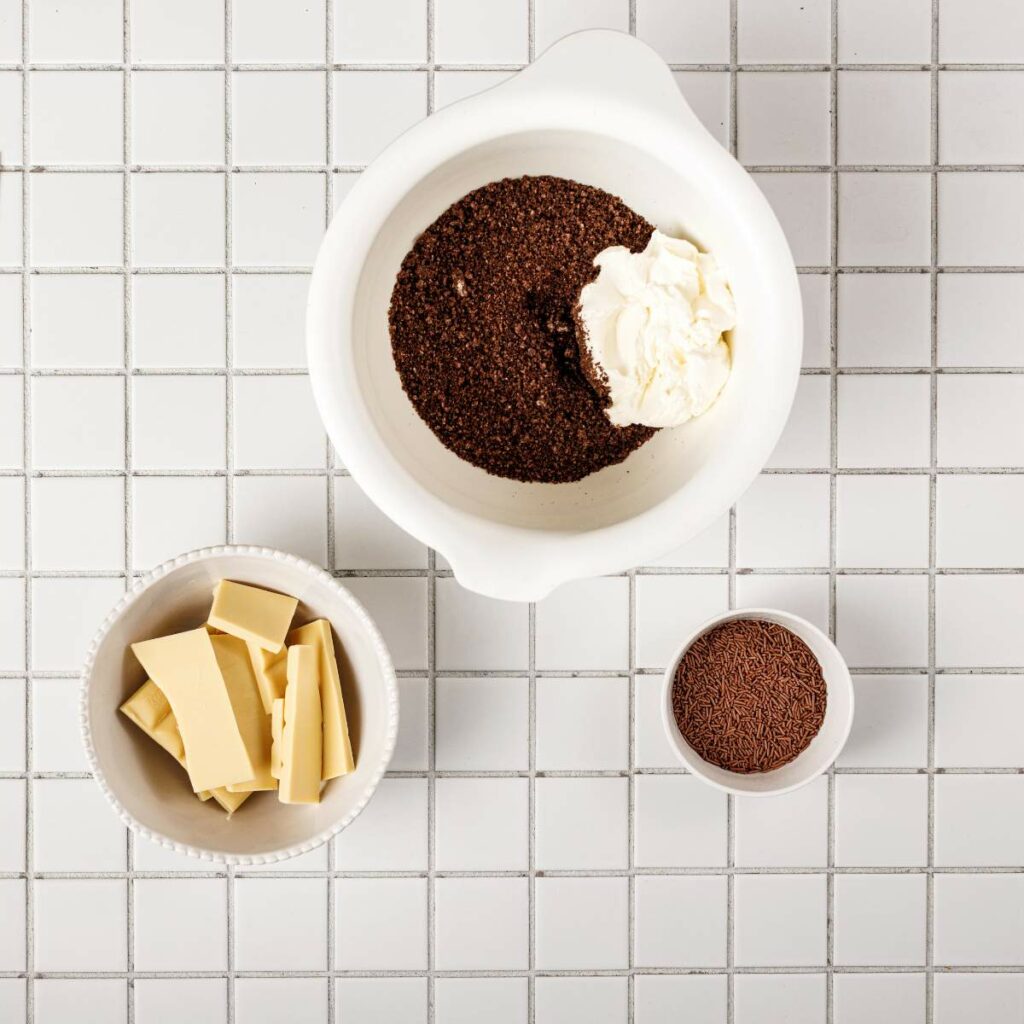
- Oreo cookies: These form the base of the cake pop “dough.” Crush the cookies very finely to have smoother, more cohesive cake pops.
- Cream cheese: Full-fat cream cheese sets better and prevents the pops from getting mushy.
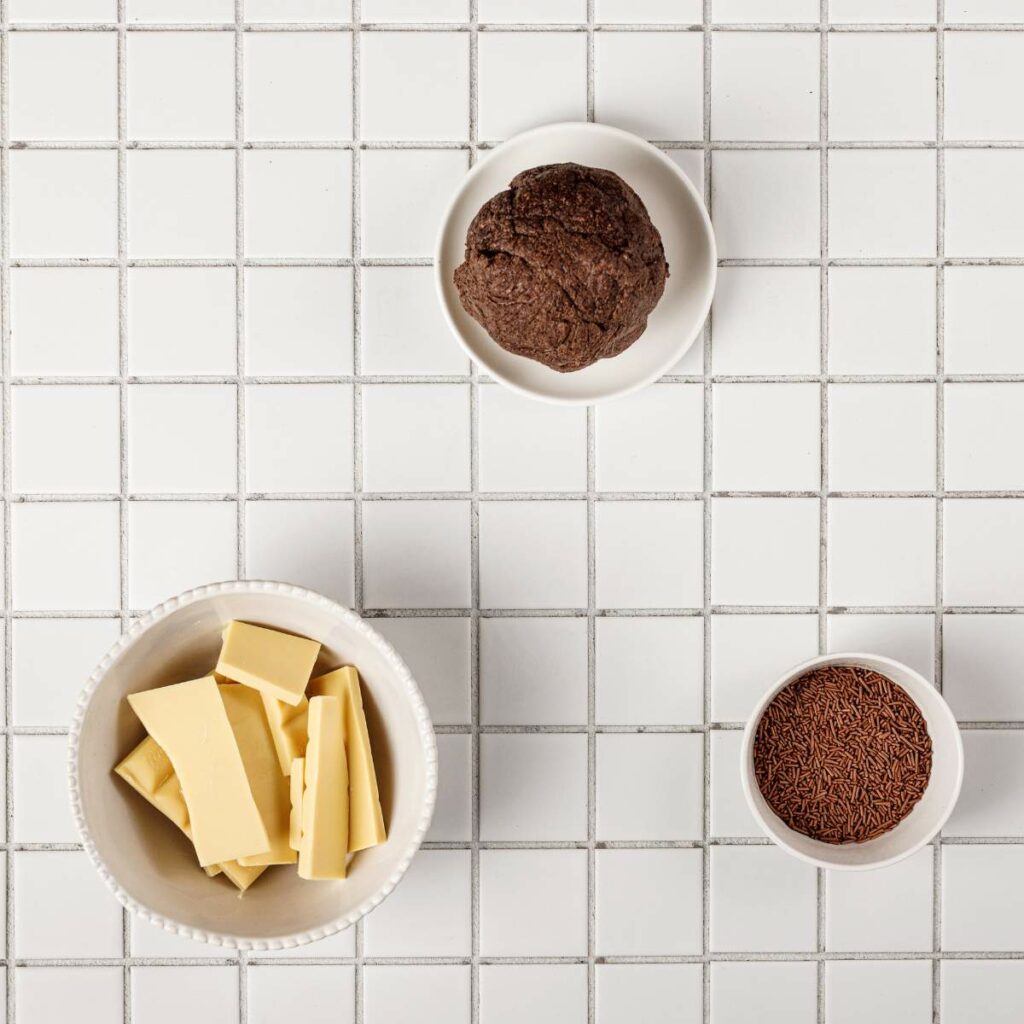
- White chocolate
- Coconut oil: Optional, but adding a bit keeps the coating thin and smooth.
- Chocolate sprinkles: For a decorative finish and a light crunch to the coating.
Step-By-Step Instructions
Ready to make your new party-favorite treat? Follow the instructions below and you can’t go wrong!

Step 1: Prepare the base
Blend Oreo cookies in a food processor until finely crushed. Add cream cheese and mix until a smooth dough forms.
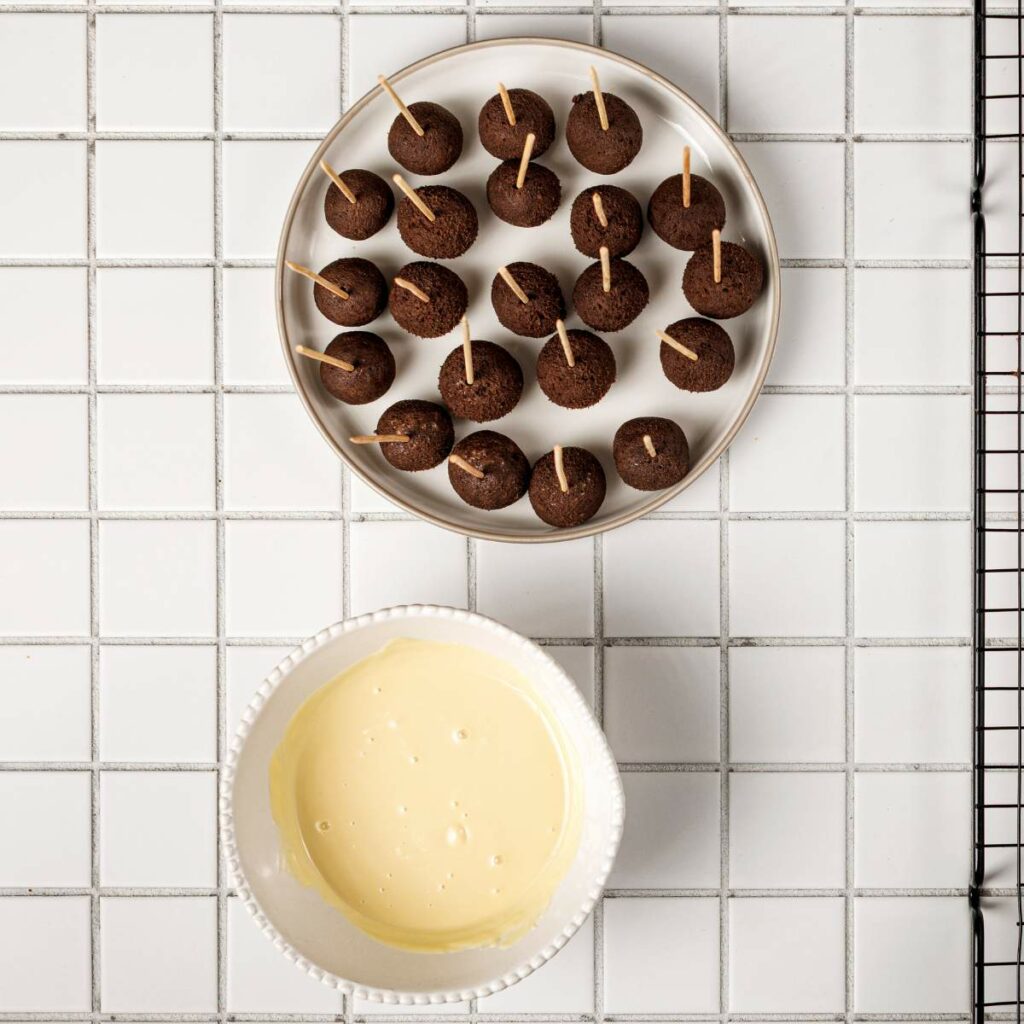
Step 2: Form the balls
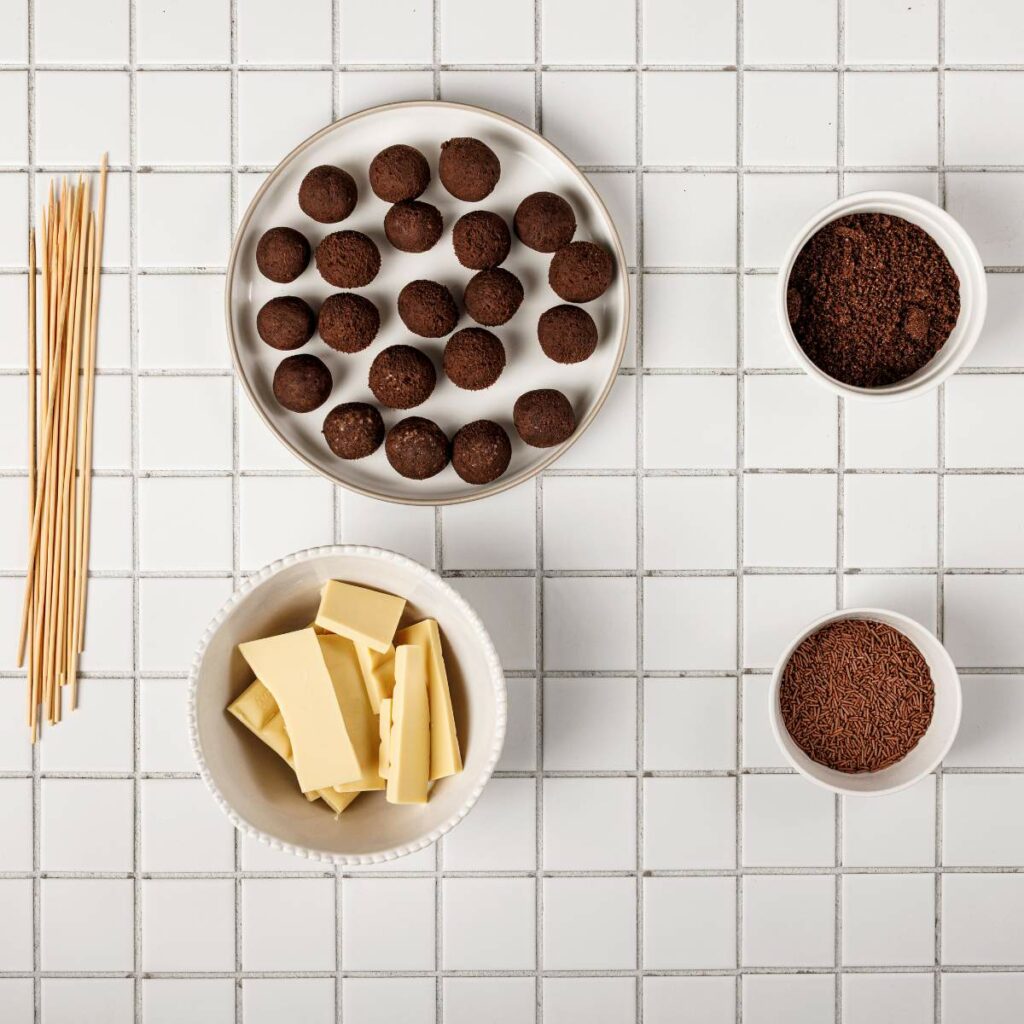
Roll into 1-inch (3 cm) balls. Place on a plate and refrigerate for 20 to 30 minutes, or freeze for 10 minutes until firm.
Step 3: Melt the chocolate
In a double boiler or microwave, melt the chocolate in short bursts, stirring until smooth. Add coconut oil for a glossy finish, if using.
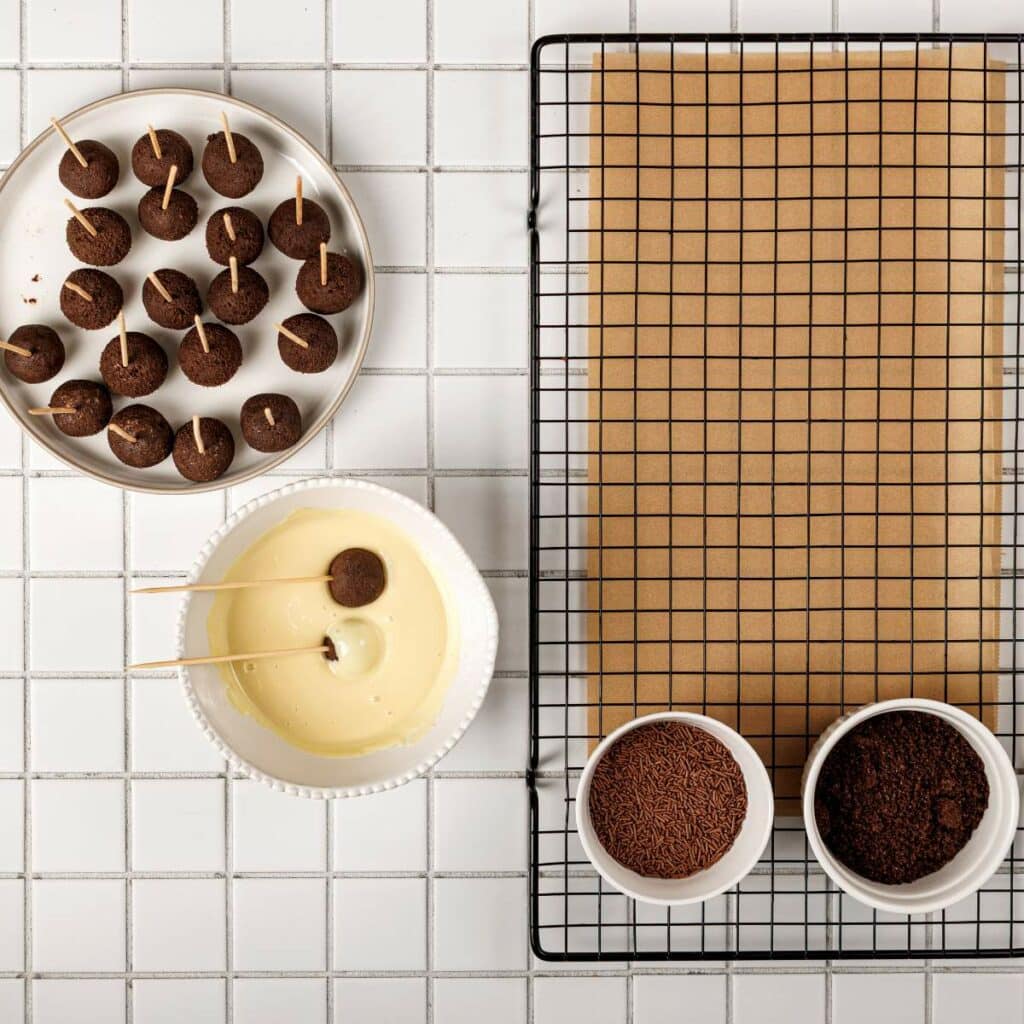
Step 4: Dip the pops
Remove the cake balls from the fridge or freezer. Insert sticks or skewers into each ball. Dip into the melted chocolate, turning to coat evenly.
Step 5: Decorate
While the chocolate is still soft, dip each ball into a small bowl of sprinkles and roll it to coat. Place on parchment paper to set.
Step 6: Serve
Serve immediately upon setting or store for later, covered loosely with plastic wrap in the refrigerator until ready to serve.
Substitutions
- White chocolate: White chocolate is used for that classic Oreo look, but you can replace it with milk or dark chocolate if preferred.
- Chocolate sprinkles: Use other colors depending on the holiday or celebration, like rainbow sprinkles for a child’s birthday or red and green for Christmas.
Expert Tips
- Don’t skip the chill time. Cold cake pop dough rolls more easily and holds its shape.
- Use a cookie scoop for even, uniform pops.
- Dip carefully. If the coating is too hot, it can melt the balls. If it’s too cold, it won’t coat smoothly.
- Decorate immediately. Add sprinkles before the coating sets so they stick on to each ball.
- Mix peanut butter, caramel, or a dash of espresso powder into the filling for unique twists.
- Stick each pop in a mini cupcake liner and wrap in cellophane tied with a ribbon for a gift-ready treat.
How to Store This Recipe
Store the cake pops in an airtight container in the fridge for up to 5 days. If you need longer storage, you can freeze them individually wrapped for up to 1 month.
Thaw in the fridge for 30 to 60 minutes before serving. Avoid leaving them at room temperature too long, as the filling can soften and the coating may sweat.
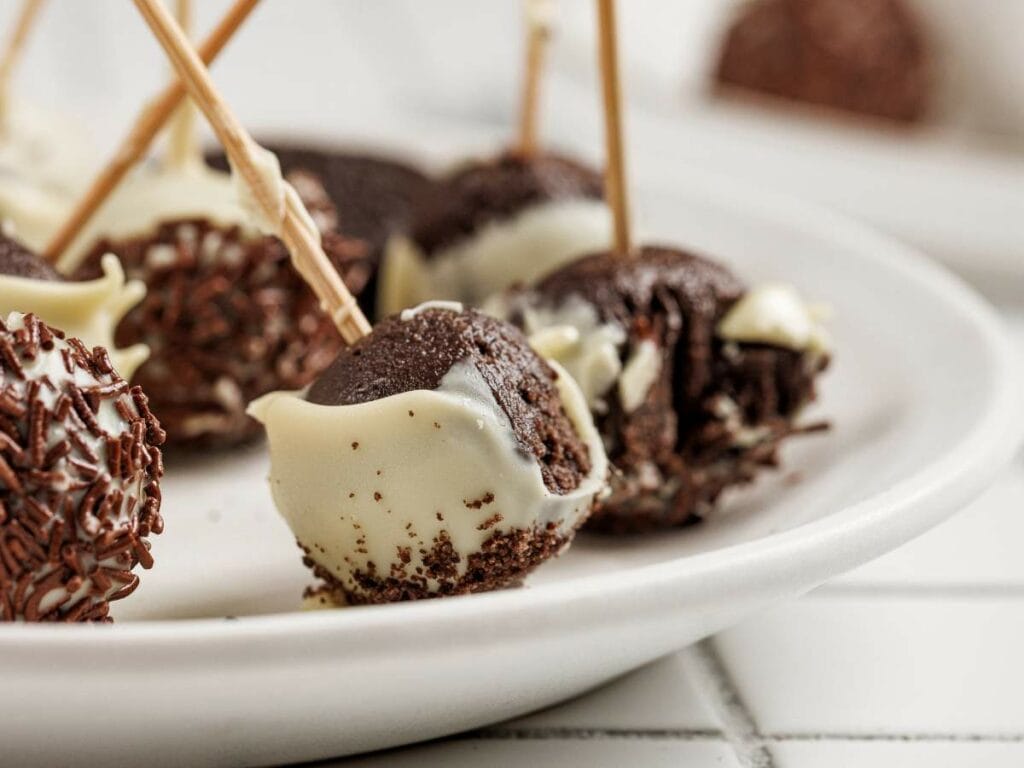
How to Serve Oreo Cake Pops
Serve these cake pops chilled for clean cuts and firm bites. Serve as is, arranged on a tray for parties or in a cute box for gifting. They go well with milk, hot chocolate, or a creamy latte. My kids love them with whipped chocolate milk and peppermint hot chocolate during the holidays. Combine them with cookies, fudge, and chocolate bark for a show-stopping dessert display.
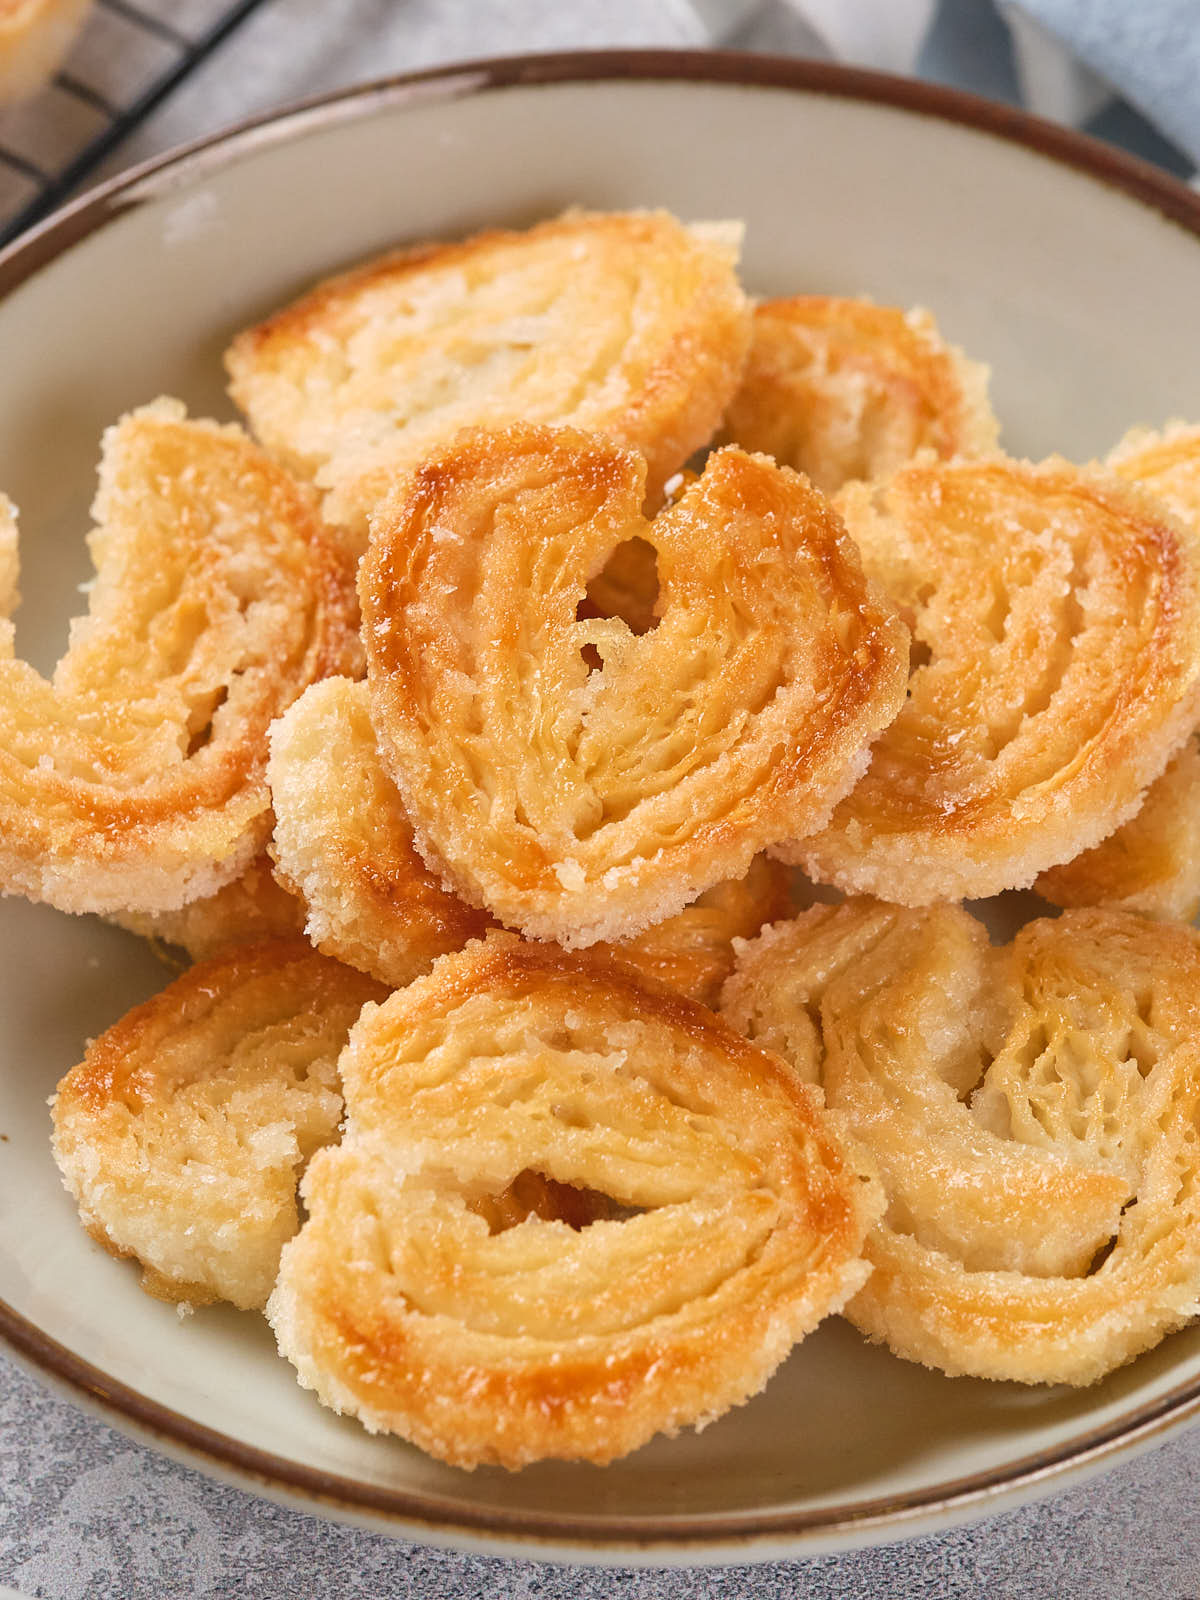
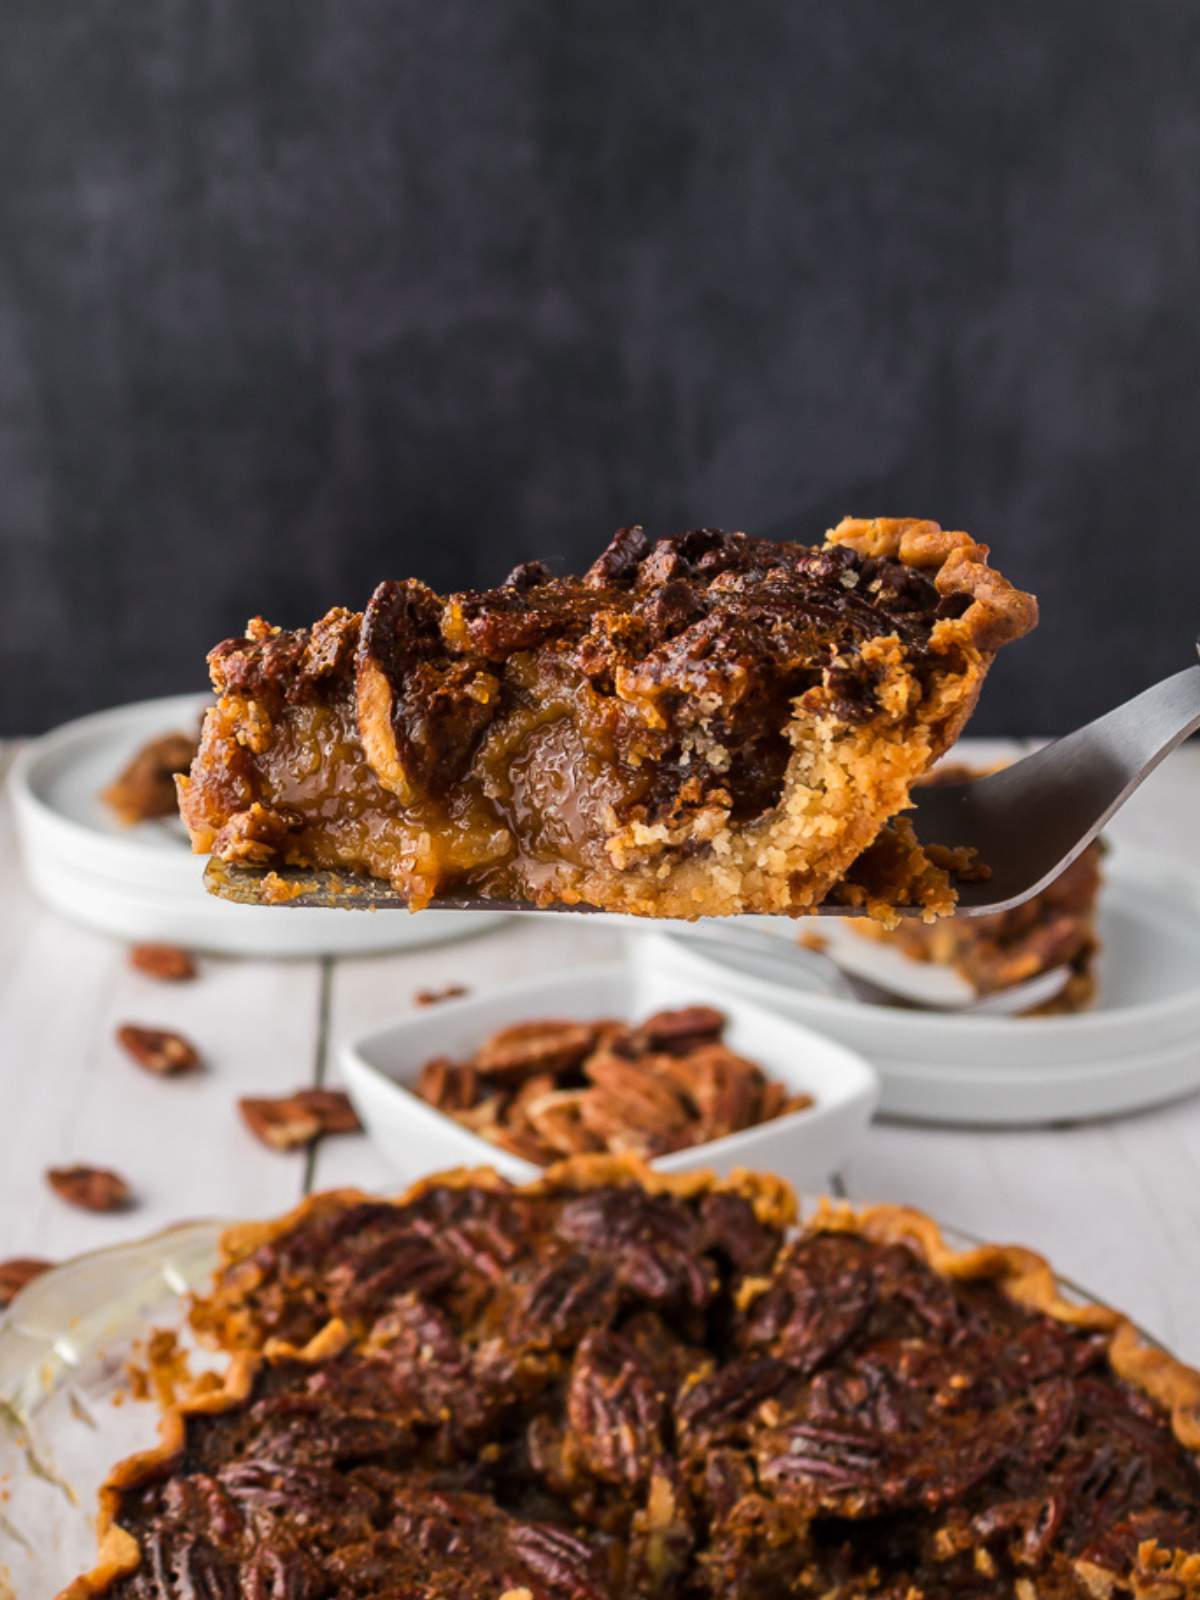
More Party-Perfect Treats To Try
5-Ingredient Oreo Cake Pops Recipe
Video
Ingredients
- 2 cups Oreo cookies crushed
- 4 ½ ounces cream cheese
- 7 ounces white chocolate
- 1 tablespoon coconut oil optional
- Chocolate sprinkles
Instructions
- Blend Oreo cookies in a food processor until finely crushed. Add cream cheese and mix until a smooth dough forms.
- Roll into 1-inch (3 cm) balls. Place on a plate and refrigerate for 20 to 30 minutes, or freeze for 10 minutes until firm.
- In a double boiler or microwave, melt the chocolate in short bursts, stirring until smooth. Add coconut oil for a glossy finish, if using.
- Remove the cake balls from the fridge or freezer. Insert sticks or skewers into each ball. Dip into the melted chocolate, turning to coat evenly.
- While the chocolate is still soft, dip each ball into a small bowl of sprinkles and roll it to coat. Place on parchment paper to set.
- Serve immediately upon setting or store for later, covered loosely with plastic wrap in the refrigerator until ready to serve.
Notes
- Don’t skip the chill time. Cold cake pop dough rolls more easily and holds its shape.
- Use a cookie scoop for even, uniform pops.
- Dip carefully. If the coating is too hot, it can melt the balls. If it’s too cold, it won’t coat smoothly.
- Decorate immediately. Add sprinkles before the coating sets so they stick on to each ball.
- Mix peanut butter, caramel, or a dash of espresso powder into the filling for unique twists.
- Stick each pop in a mini cupcake liner and wrap in cellophane tied with a ribbon for a gift-ready treat.


cream cheese?
Hi Bonnie , Thank you for pointing out that the text wasn’t clear on how to add in the cream cheese. We had a formatting error when the post was built, but it’s been fixed now and should be clear. The cream cheese is added to blended Oreo cookies in the first step. This binds the cookies into a type of dough and forms the ball of the cake pop. Thanks again for reading and helping us fix this little hiccup.