The Perfect Flaky Oil Pie Crust
As a participant in the Amazon Services LLC Associates Program and other affiliate programs, Quick Prep Recipes may collect a share of sales or other compensation from the links on this page. This comes at no additional cost to you, and all the prices and availability are accurate at the time of publishing.

This oil pie crust will be your new secret weapon for perfect homemade pies. It’s light, perfectly flaky, and bakes like a dream every time. This easy recipe mixes up in minutes and works beautifully for sweet or savory pies.
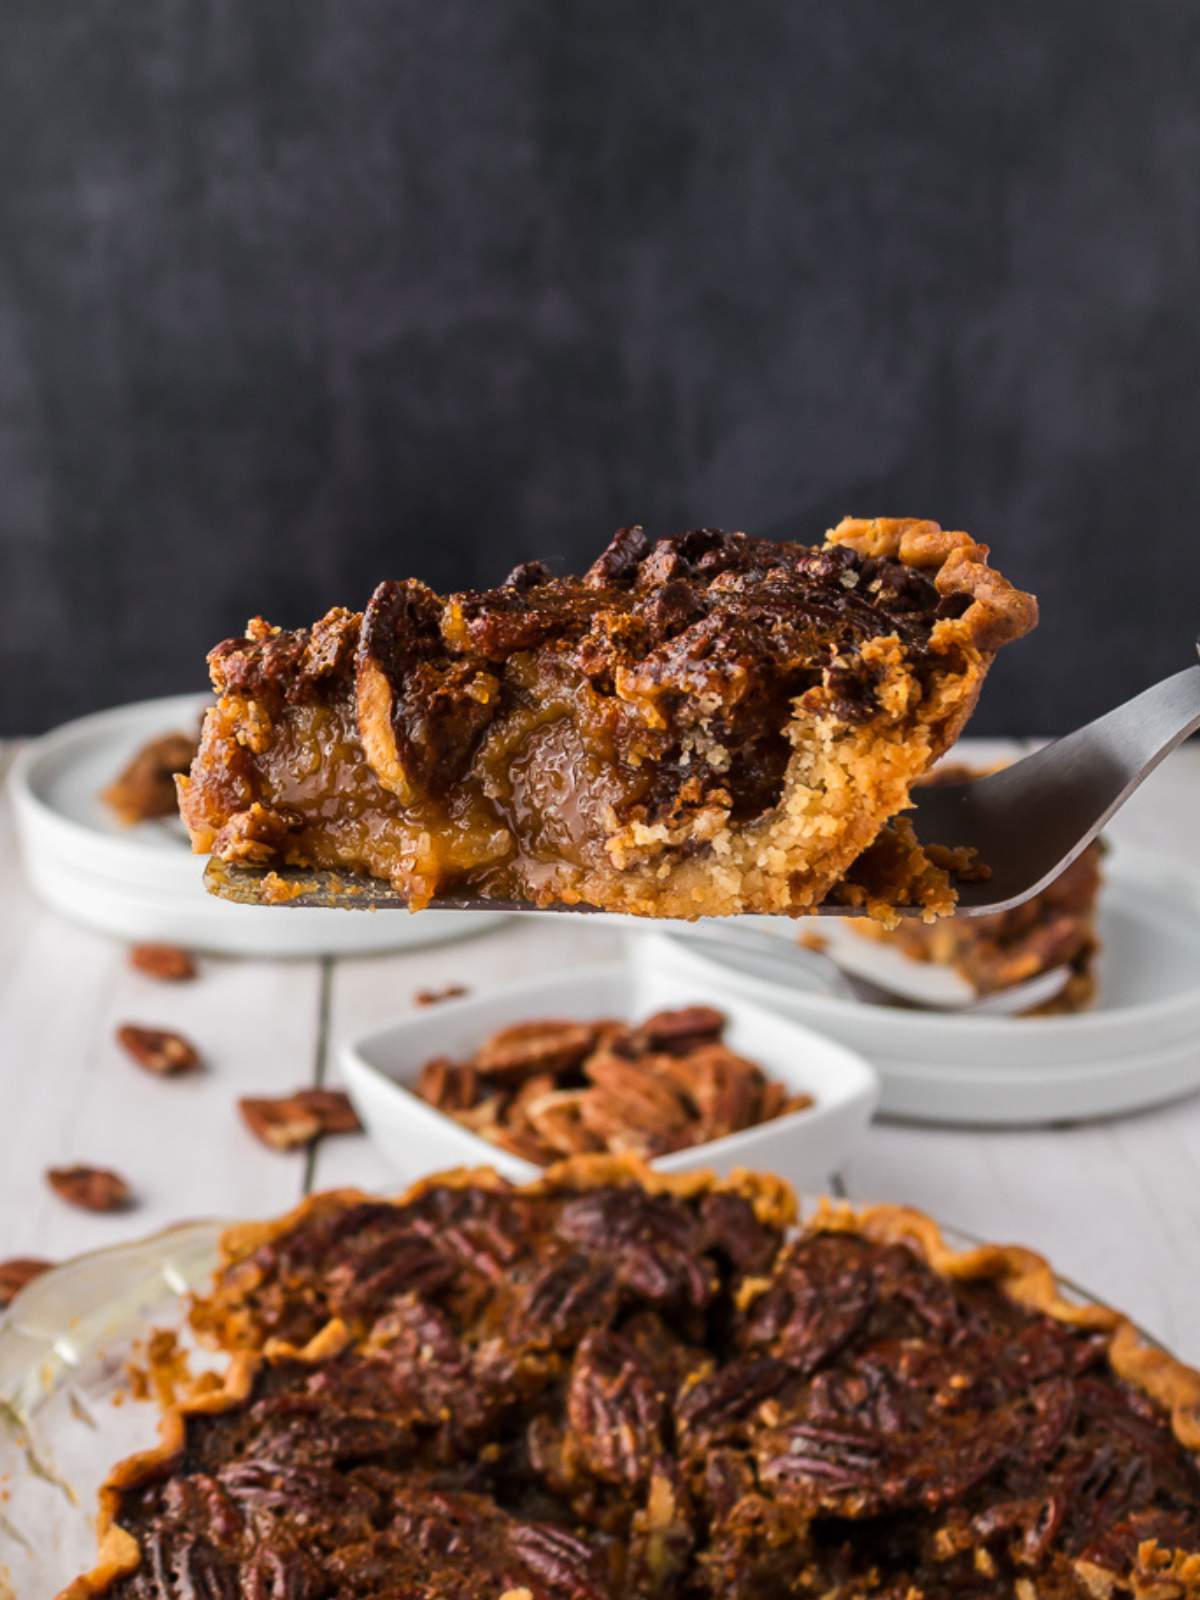
I was baking pecan pie one weekend when I realized I was out of frozen pastry. I already made the filling, and before I could run to the store, I remembered my grandma’s oil pie crust recipe.
In just minutes, I had a soft, flaky crust that was sturdy enough to hold thick and creamy fillings yet light and crisp enough for a fruit pie or a quiche. This is a solid recipe that has stood the test of time. It’s an easy crust that even beginners can make.
Why My Recipe Works
- Just 5 ingredients
- No rolling pin needed: This crust is mixed and pressed directly into the pan, making it perfect for quick, hassle-free pies.
- No chilling necessary: Ready to bake as soon as it’s mixed.
- Quick cleanup
- Make-ahead friendly: You can prepare the dough up to 2 days in advance. Just keep in the fridge until you’re ready to fill and bake.
How to Make Oil Pie Crust
You’ll only need a few ingredients and 15 minutes to make this foolproof oil pie crust. Just whisk the dry and wet ingredients separately, mix them together right in the pan, then press the dough in place. Once your fillings are in, you’re ready to bake!
Scroll to the bottom of this post for a printable recipe card with a full list of ingredients, measurements, and step-by-step instructions.
Ingredients You Need
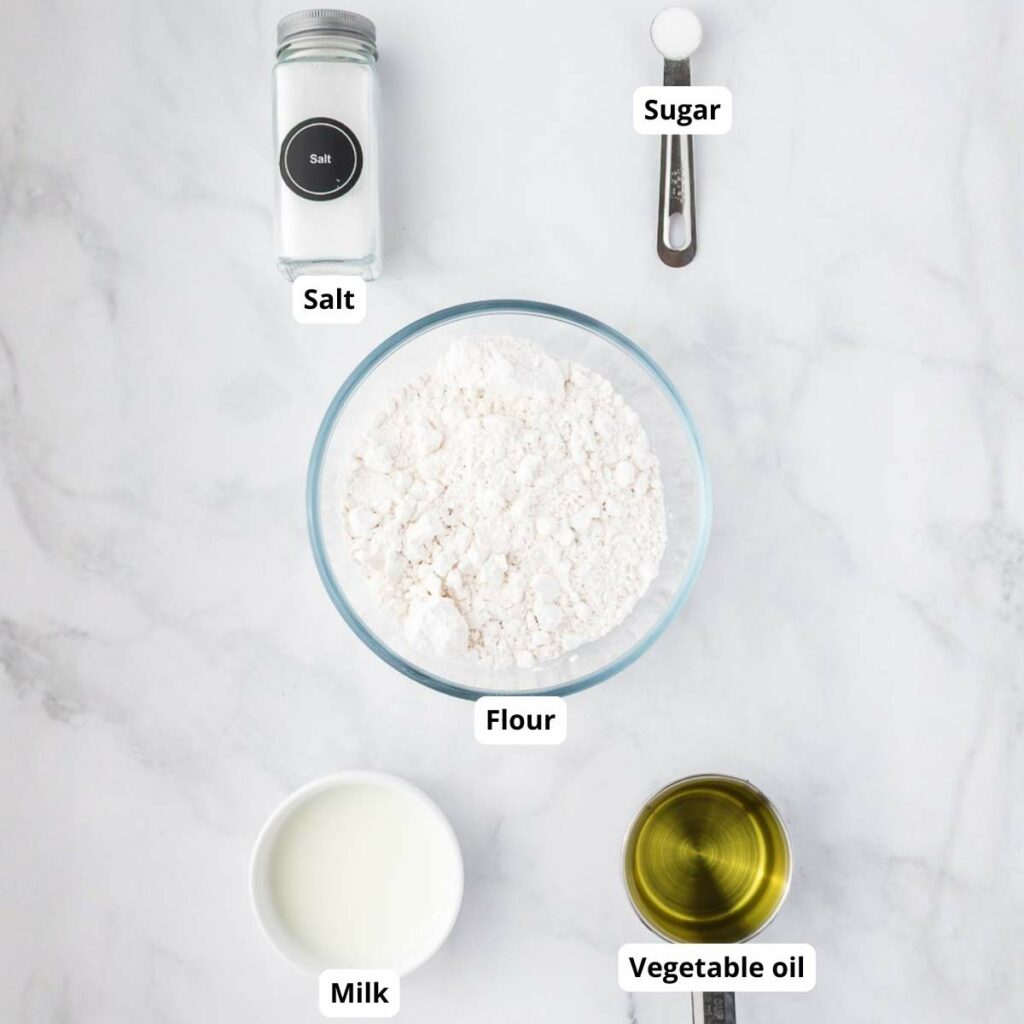
- Flour: Sift the flour before mixing to ensure a lighter, flakier crust.
- Salt
- Sugar
- Vegetable oil: Use a neutral oil like canola, sunflower, or light olive oil.
- Milk: Choose whole milk for best flavor and texture. Cold milk helps the dough come together smoothly and keeps the crust tender.
Step-By-Step Instructions
This beginner-friendly oil pie crust can’t be quicker and easier. Let’s get started so you can enjoy tender, flaky goodness!
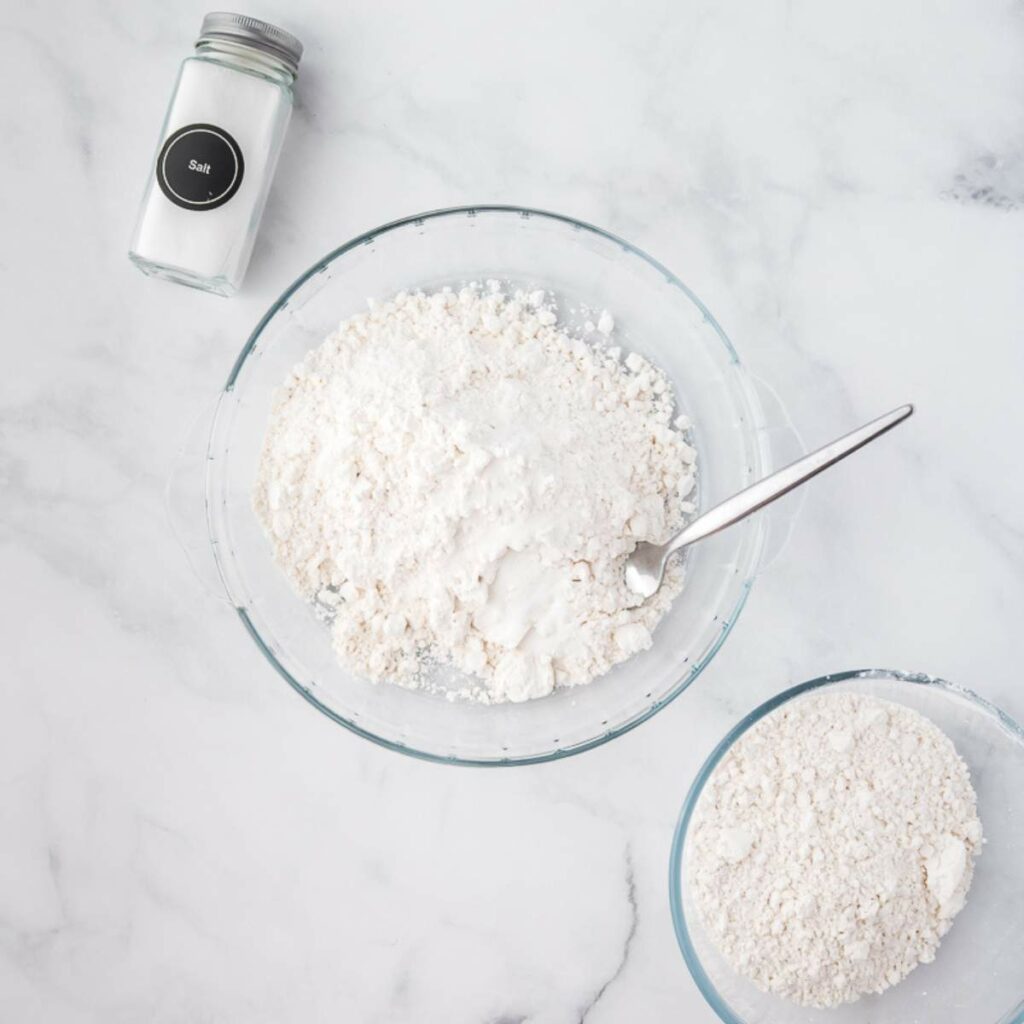
Step 1: Combine the dry ingredients
In a 9-inch pie pan, mix the flour, sugar, and salt using a fork.
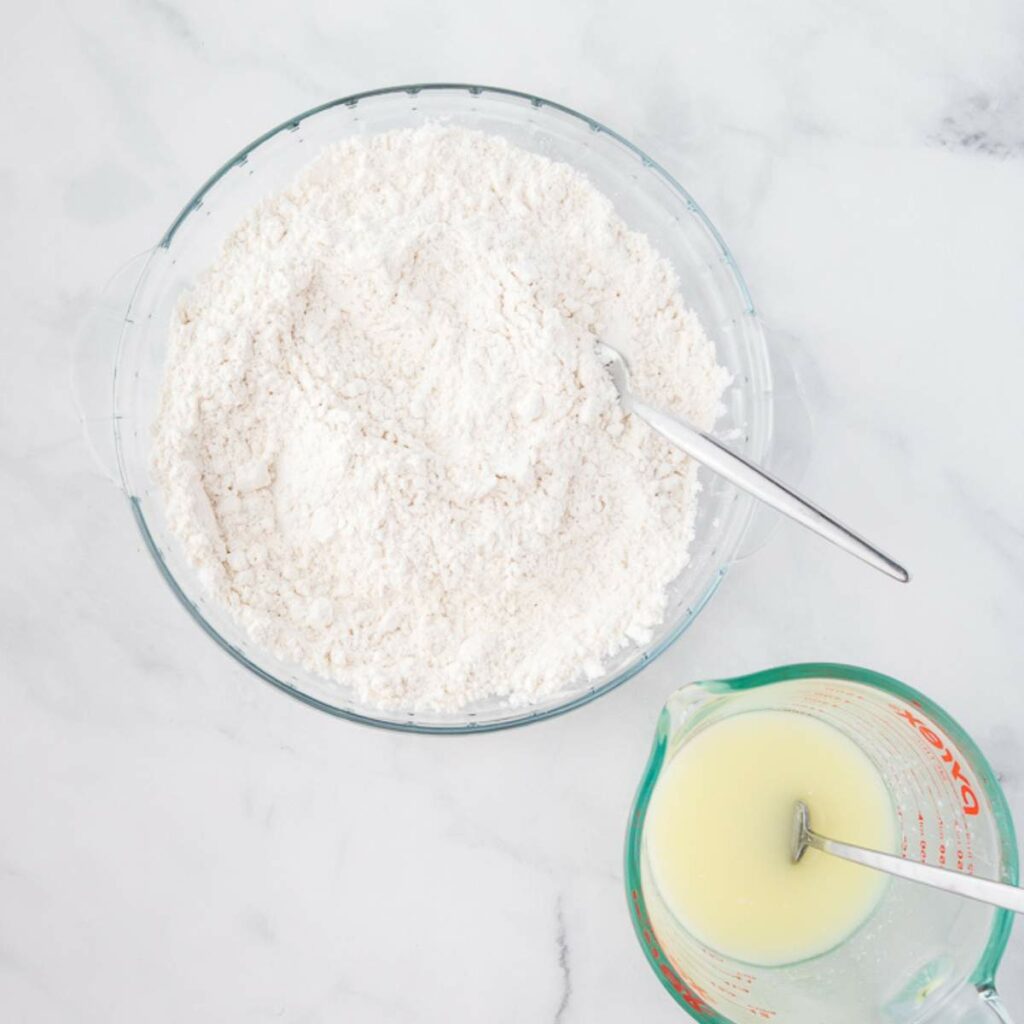
Step 2: Mix the wet ingredients
Measure the oil in a glass measuring cup, and add the milk. Stir well with a fork.
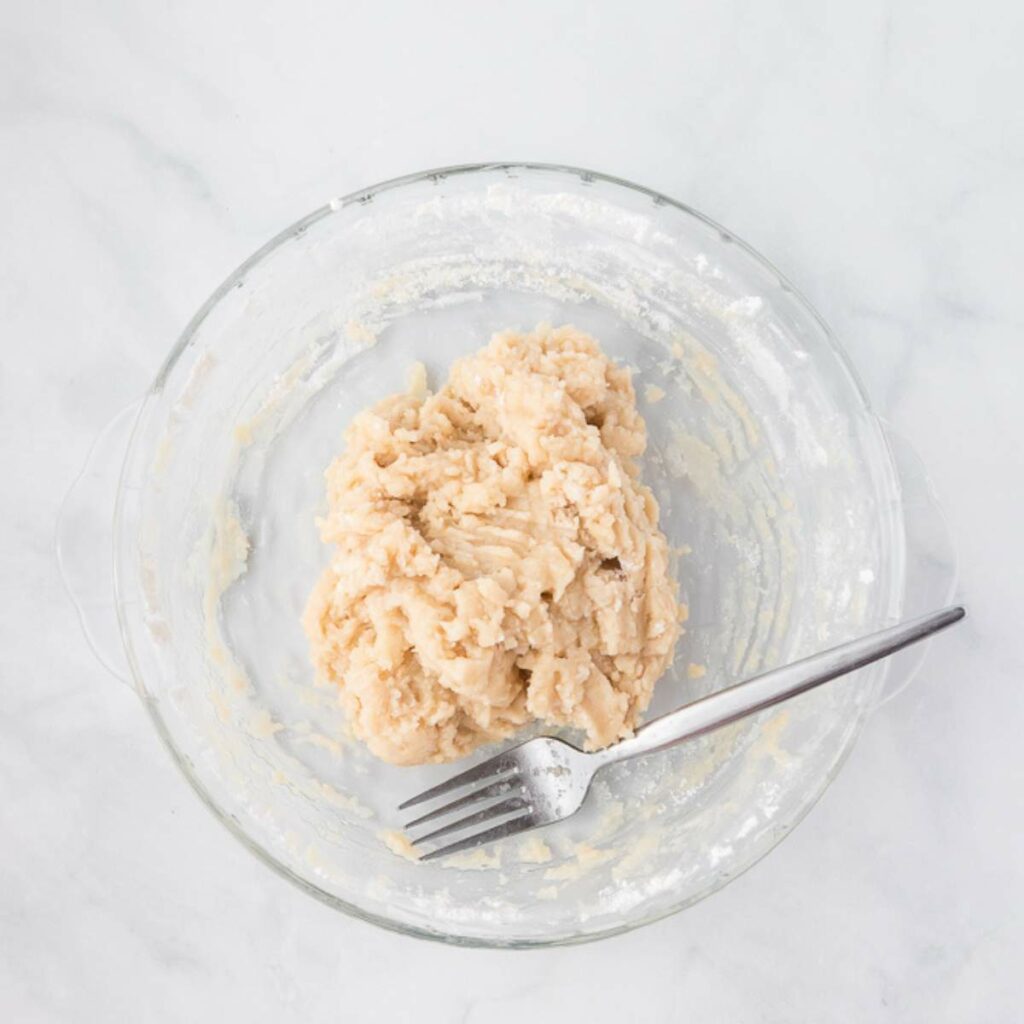
Step 3: Bring the dough together
Pour the liquid mixture into the pie pan and mix with the dry ingredients using a fork until a ball forms.
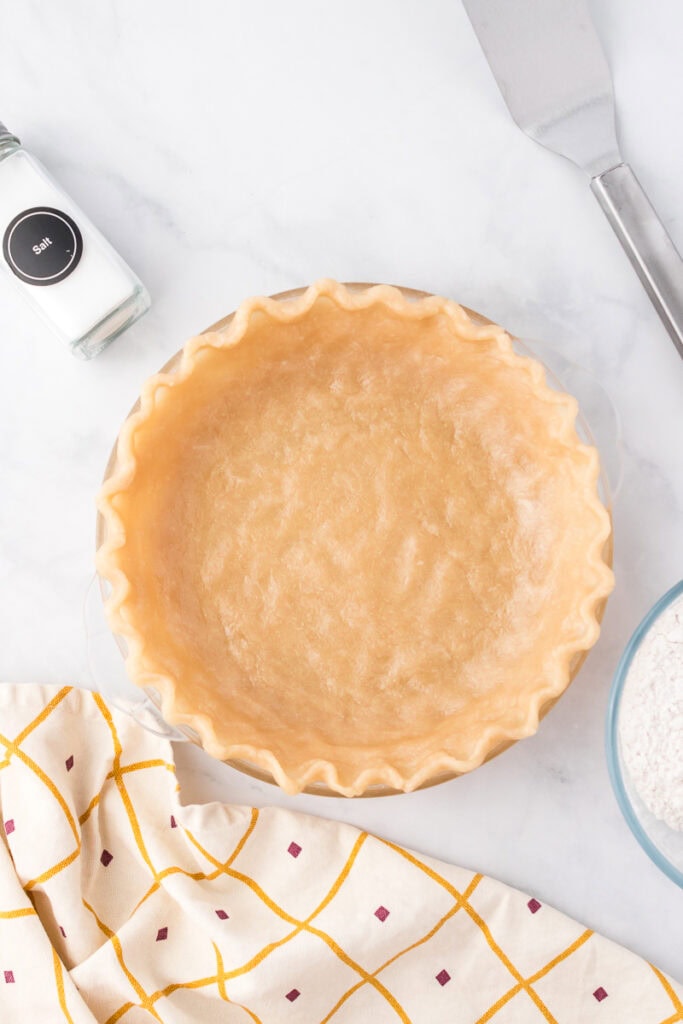
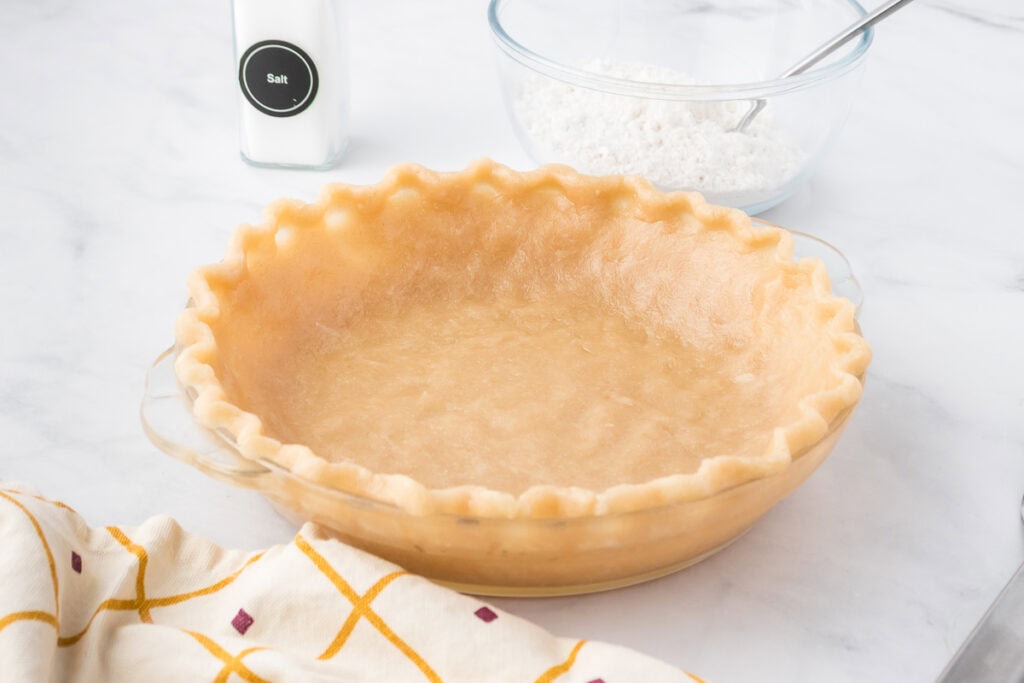
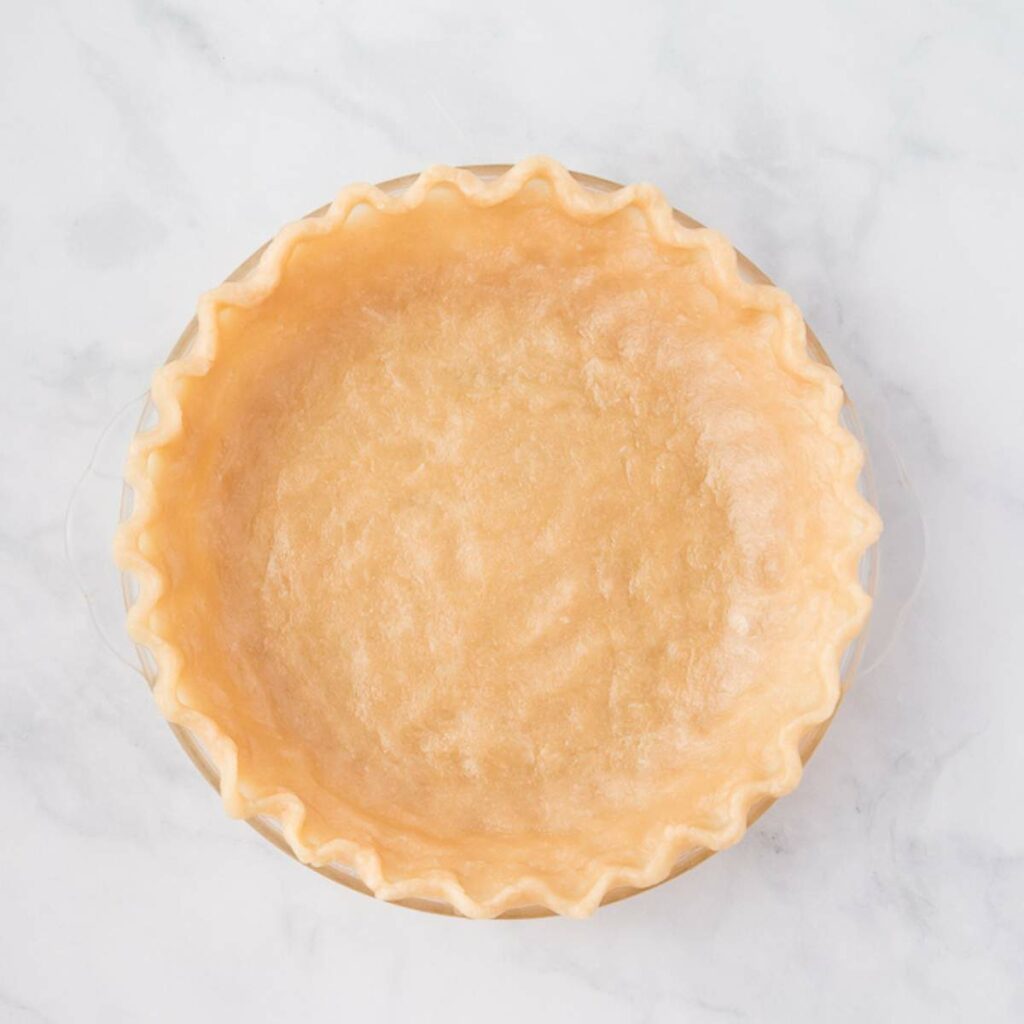
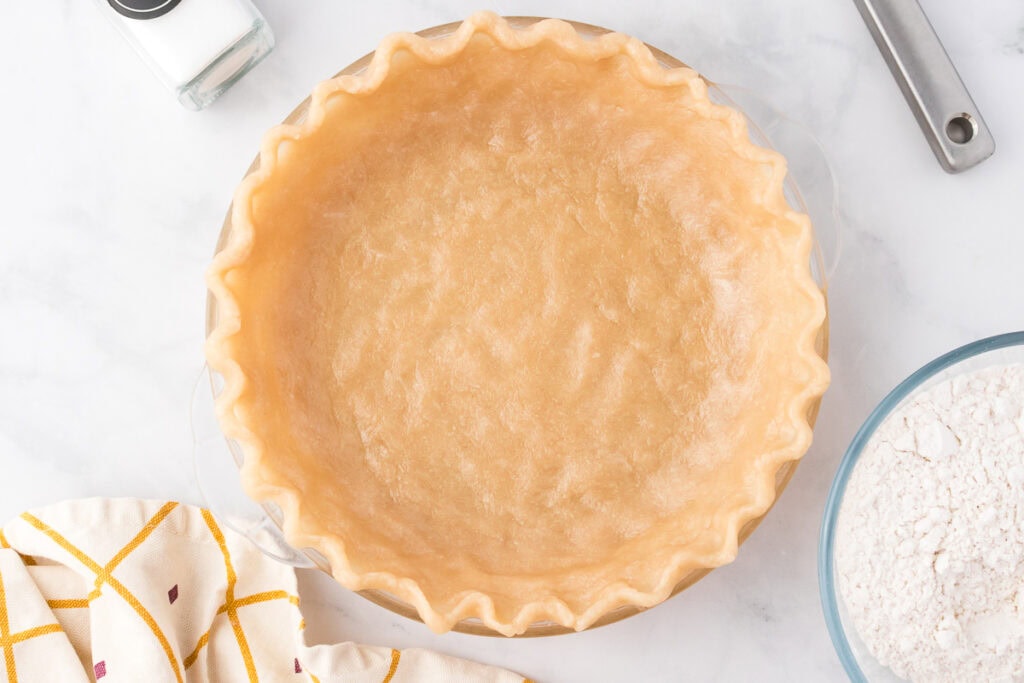
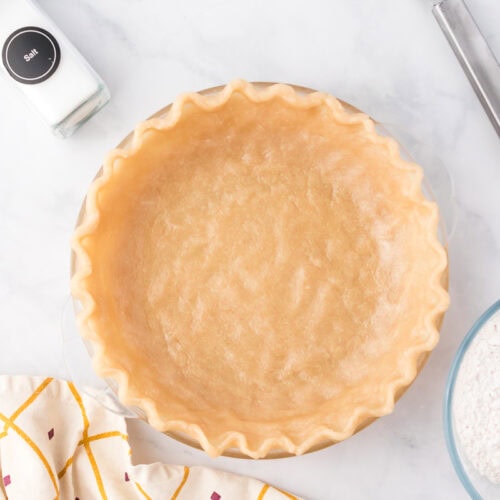
Step 4: Shape the crust
Press the dough evenly across the bottom and up the sides of the pie pan. Use your fingers to flute the edges.
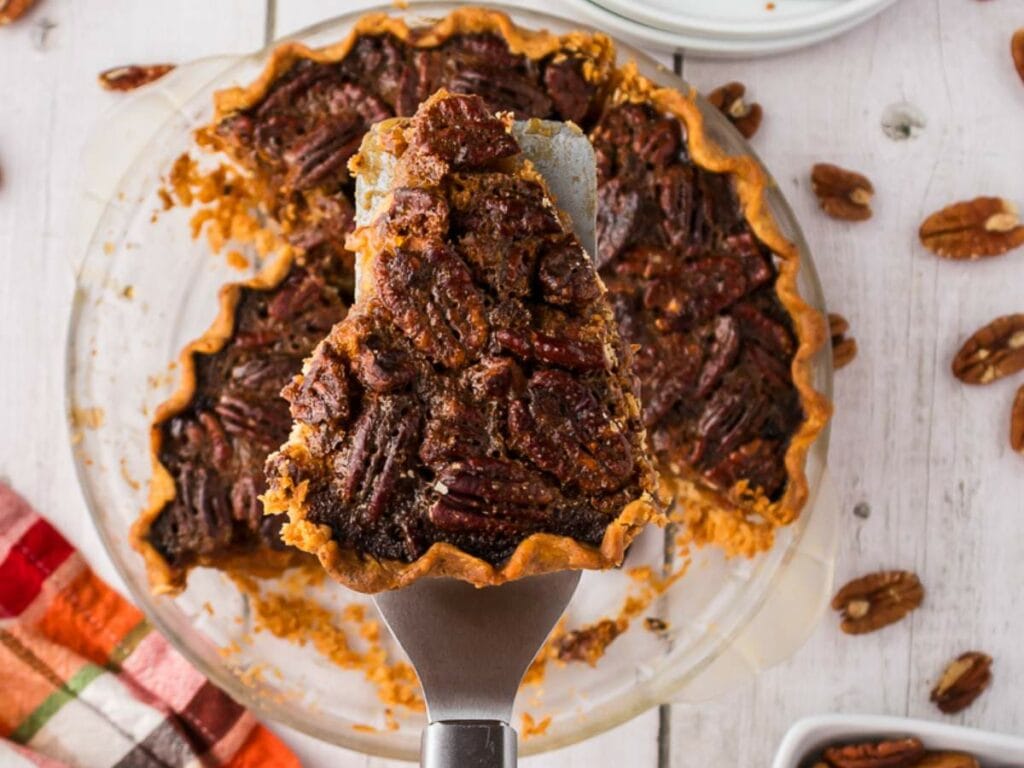
Step 5: Fill and bake
Fill with a variety of fillings and bake accordingly.
Substitutions
- Flour: Use a 1:1 gluten-free flour blend if needed.
- Vegetable oil: Melted coconut oil or butter also work well.
Expert Tips
- Don’t overmix: Overmixing develops gluten, which makes the crust tough instead of tender.
- Soften the dough: If your dough looks dry, add an additional teaspoon of milk at a time. It should form a soft, pliable ball that’s easy to press, not sticky.
- Chill the crust before baking: Optional, but a quick 10 to 15 minutes in the fridge firms up the dough and helps prevent shrinkage.
- Add a touch of vinegar: A teaspoon mixed into the milk helps tenderize the dough and will make the crust even flakier.
- Protect your crust edges: If they brown too quickly, cover them with foil halfway through baking for a perfectly even finish.
How to Store This Recipe
Store unbaked oil pie crust tightly covered with plastic wrap or foil in the refrigerator for up to 3 days. If it’s already pressed into a pan, wrap the entire pan to prevent the dough from drying out or absorbing fridge odors.
For longer storage, you can freeze the unbaked crust directly in the pie pan. Just wrap it tightly in plastic wrap, then a layer of foil, and freeze for up to a month. When ready to use, thaw it in the refrigerator overnight before filling and baking as directed.
If you’ve already baked the crust, let it cool completely before wrapping and freezing it. Reheat in a 350 F oven for about 10 minutes, or until warmed through and slightly crisp again.
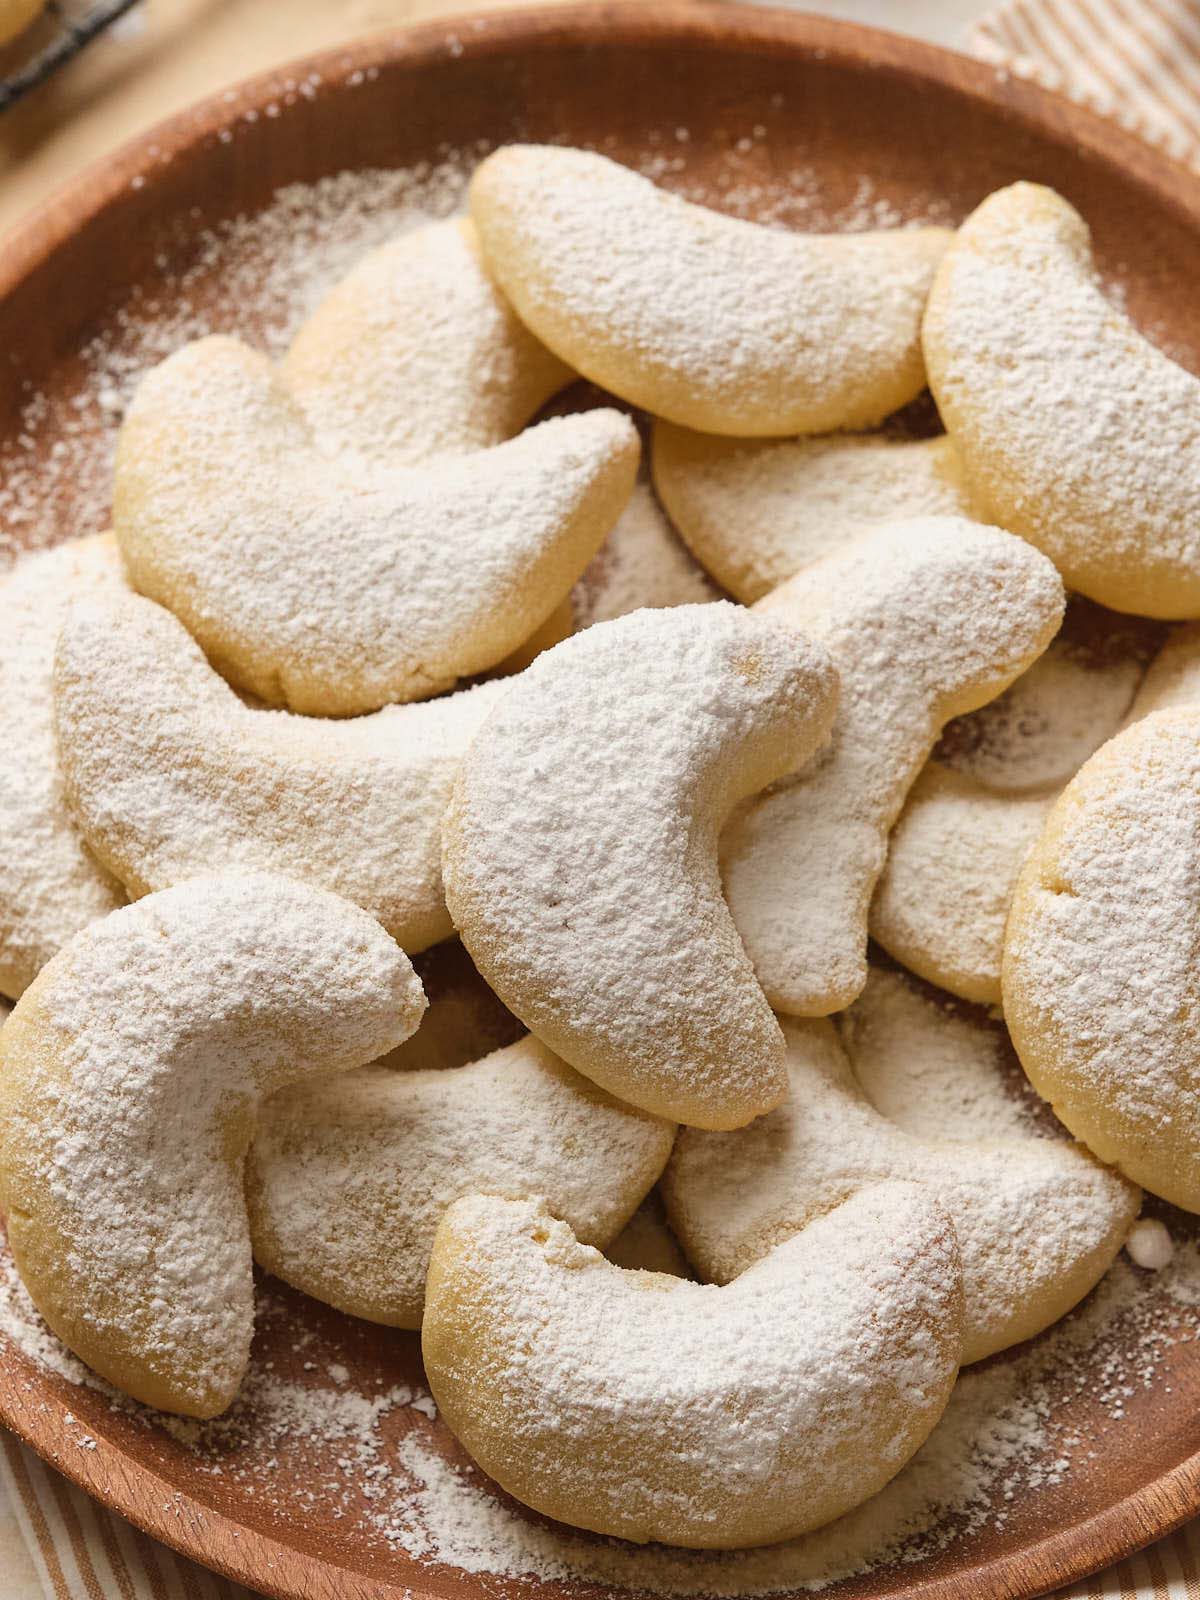
More Easy Desserts To Try
Press-In Oil Pie Crust Recipe
Ingredients
- 1 ½ cups flour
- ½ teaspoon salt
- ½ teaspoon sugar
- ½ cup vegetable oil
- 3 tablespoons milk
Instructions
- In a 9-inch pie pan, mix the flour, sugar, and salt using a fork.
- Measure the oil in a glass measuring cup, and add the milk. Stir well with a fork.
- Pour the liquid mixture into the pie pan and mix with the dry ingredients using a fork until a ball forms.
- Press the dough evenly across the bottom and up the sides of the pie pan. Use your fingers to flute the edges.
- Fill with a variety of fillings and bake accordingly.
Notes
- Mix only until the dough comes together.
- If it feels dry, add milk a teaspoon at a time until soft but not sticky.
- Add a teaspoon of vinegar to the milk for extra flakiness.
- If the edges brown too fast, cover them with foil for an even, golden crust.