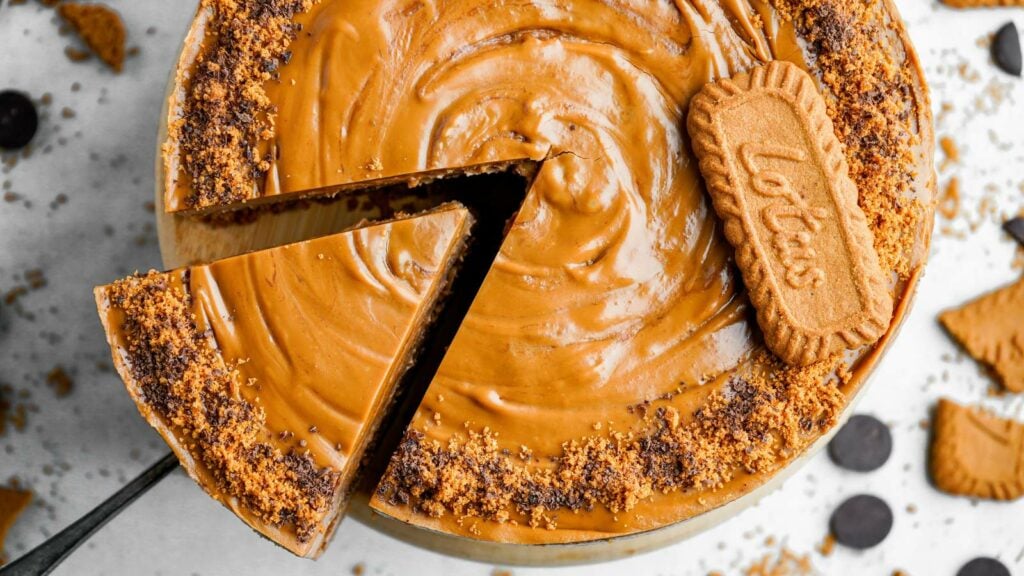
Easy No-Bake Biscoff Cheesecake
As a participant in the Amazon Services LLC Associates Program and other affiliate programs, Quick Prep Recipes may collect a share of sales or other compensation from the links on this page. This comes at no additional cost to you, and all the prices and availability are accurate at the time of publishing.
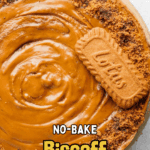
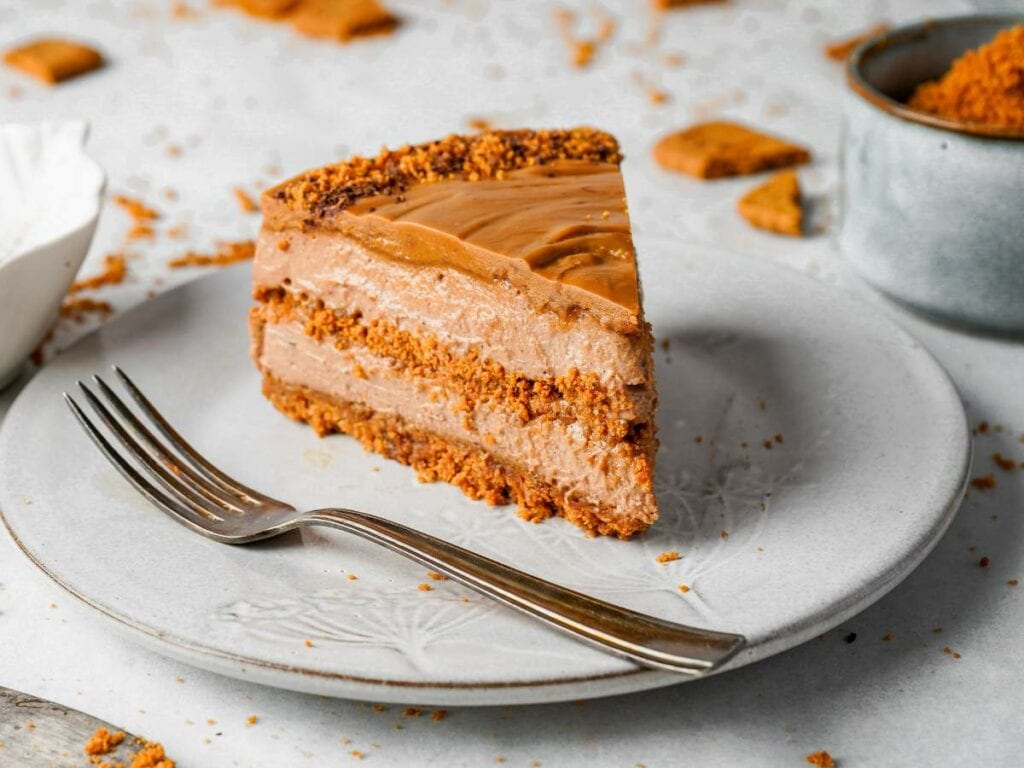
I started making this no-bake Lotus Biscoff cheesecake when I needed a dessert that looked celebration-worthy but didn’t require me to babysit an oven, and it has delivered every single time. The cookie butter filling is smooth, rich, and packed with that warm spiced flavor that makes Biscoff so irresistible, and the whole thing comes together with just a handful of simple ingredients. It’s become my most-requested dessert for holidays, birthdays, and special occasions because it always looks like you went all out, even when you didn’t.

Mango cheesecake is a longtime favorite around here, but this Biscoff cheesecake recipe earns its spot on the dessert table every time I bring it out. It’s the perfect make-ahead option for entertaining since it sets in the fridge while you focus on everything else, and it slices beautifully for Christmas, Easter, anniversaries, or any gathering where you want dessert to be the highlight.
How to Make Biscoff Cheesecake
No-bake Biscoff cheesecake takes just 30 minutes of simple prep, from mixing the buttery cookie crust to whipping up the creamy Biscoff filling and topping. The chill time does take a while, but it is essential. It allows the cheesecake to fully firm up and stabilize, and for the flavors to meld into that silky-smooth, perfectly sliceable texture.
Scroll to the bottom of this post for a printable recipe card with a full list of ingredients, measurements, and step-by-step instructions.

Ingredient Notes
- Cream cheese: Full-fat works best for flavor and texture. Always soften fully, as cold cream cheese creates lumps that won’t mix out.
- Heavy cream: Make sure it’s cold!
- Melted dark chocolate chips: I add these to make a chocolate filling, but they’re optional. Omit for a stronger classic Biscoff flavor.
Step-By-Step Instructions
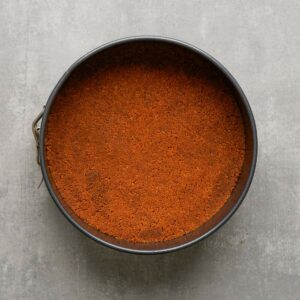
- Make the crust.
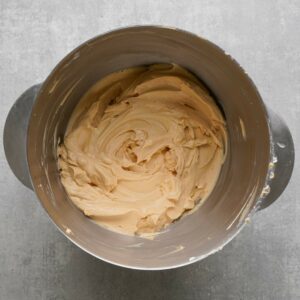
- Prepare the filling.
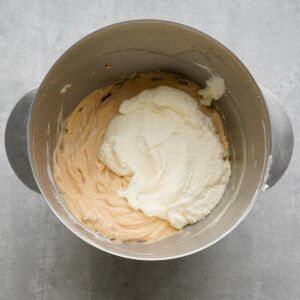
- Whip the cream and fold it in. Decide if you’re adding chocolate or not now.
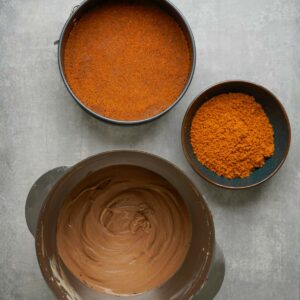
- Assemble the layers.
- Chill in the fridge. You can work through the process up to this step the day before if you want to.
- Make the topping.
- Garnish and serve.
Substitutions
- Heavy cream: Use whipping cream or double cream.
- Dark chocolate chips: Substitute with milk chocolate, white chocolate, or omit entirely for a classic Biscoff-only filling.
- Garnishes: Toffee bits, caramel drizzle, or chopped nuts.
Expert Tips
- Pack the crust firmly by using the bottom of a measuring cup to press the crumbs firmly so the crust holds together well.
- Use cold cream and equipment for perfect peaks. Chill the bowl and beaters for 10 minutes. Your whipped cream will thicken faster and hold its structure better.
- Don’t overwhip the cream. Classic advice, but worth mentioning. Stop at medium peaks so the filling stays light, fluffy, and sliceable, not grainy or stiff.
Stock up on Biscoff for Biscoff white chocolate blondies, too.
How to Store This Recipe
Store the cheesecake covered in the fridge for up to 4 to 5 days. Keep it in its springform pan and cover with plastic wrap or transfer slices to an airtight container to prevent the topping from drying out. If you’re making it ahead, leave off the cookie garnish until serving so it stays crunchy.
For longer storage, you can freeze the cheesecake. Wrap the whole pie or individual slices in plastic wrap, then foil. Freeze for up to 1 month. Thaw overnight in the fridge.
How to Serve Biscoff Cheesecake
Serve your Lotus Biscoff cheesecake well-chilled for the cleanest cuts and the best texture. It goes great with both warm and cold coffee or tea. Pair it with fresh berries, caramel-dipped apples, or cinnamon palmiers. For the holidays, serve with eggnog martini, mulled wine, or peppermint hot chocolate.
More Special Occasion Desserts To Try
No-Bake Chocolate Biscoff Cheesecake Recipe
Video
Ingredients
For the Crust:
- 2 cups crushed Biscoff cookies divided
- 7 tablespoons unsalted butter melted
For the Filling:
- 16 ounces cream cheese softened
- ½ cup granulated sugar
- ¾ cup Biscoff spread
- 1 teaspoon vanilla extract
- ¾ cup heavy cream cold
- ⅔ cup dark chocolate chips melted (optional)
For the Topping:
- ⅓ cup heavy cream
- 3 tablespoons Biscoff spread
- crushed Biscoff cookies for garnish
- chocolate shavings for garnish
Instructions
- Mix 1 cup crushed Biscoff cookies with melted butter.

- Press the mixture firmly into the bottom of a 9-inch (23 cm) springform pan. Move to the refrigerator and chill while preparing the filling.
- In a mixing bowl by beating the cream cheese and sugar until smooth. Add Biscoff spread and vanilla extract and mix until fully incorporated.
- In a separate bowl, whip the heavy cream to soft peaks. Gently fold the whipped cream into the cream cheese mixture. If you want the chocolate version, fold in the melted chocolate now.
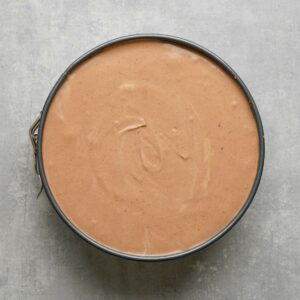
- Assemble the cake by spreading half of the whipped filling over the crust, sprinkling the remaining 1 cup of cookie crumbs, then top with the rest of the filling.
- Smooth the top and refrigerate for at least 6 hours or overnight until fully set.
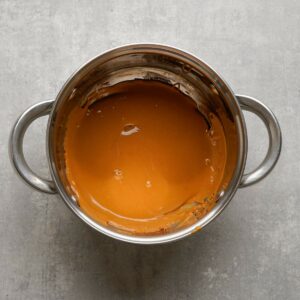
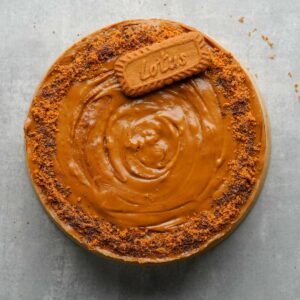
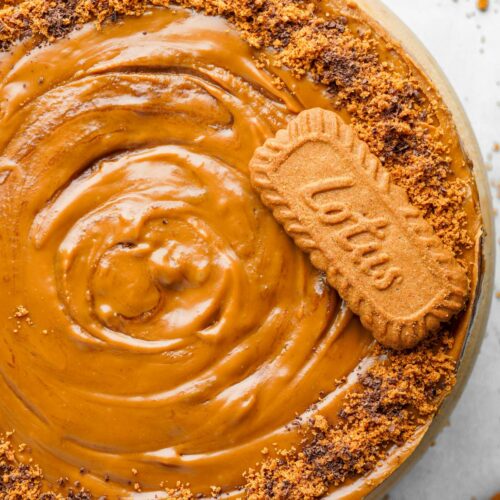
- Warm the heavy cream and Biscoff spread in a small saucepan or microwave until smooth. Let it cool slightly before pouring over the chilled cheesecake.
- Top with crushed Biscoff cookies and chocolate shavings. Slice and serve cold.