Puff Pastry Apple Hand Pies
As a participant in the Amazon Services LLC Associates Program and other affiliate programs, Quick Prep Recipes may collect a share of sales or other compensation from the links on this page. This comes at no additional cost to you, and all the prices and availability are accurate at the time of publishing.
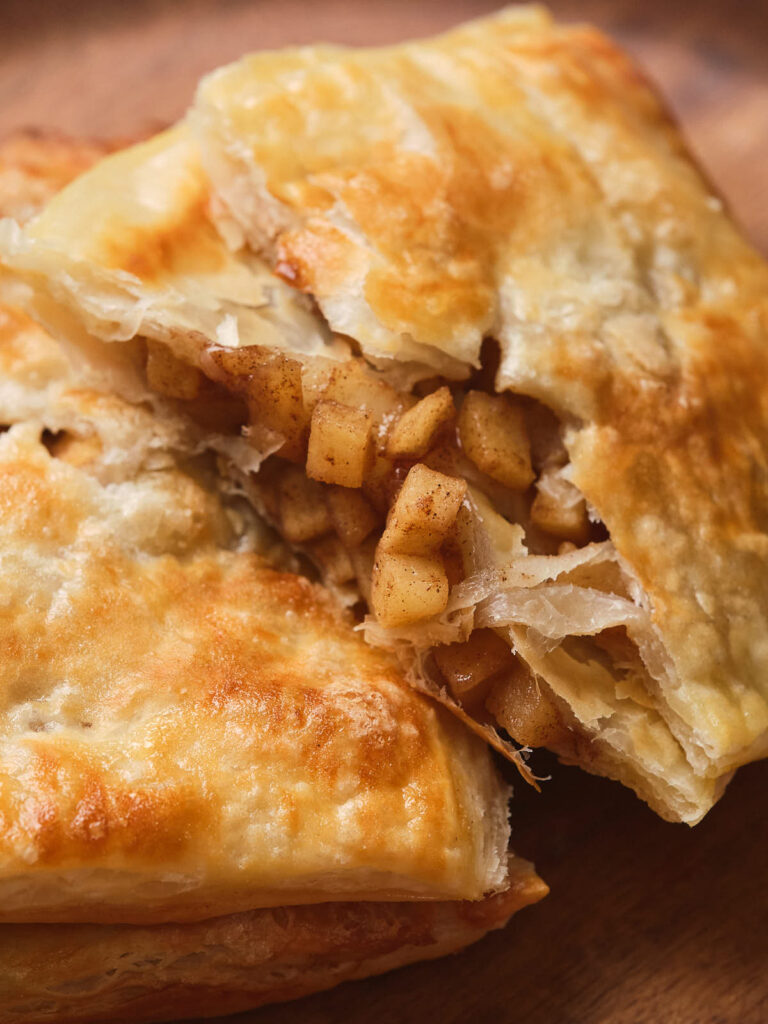
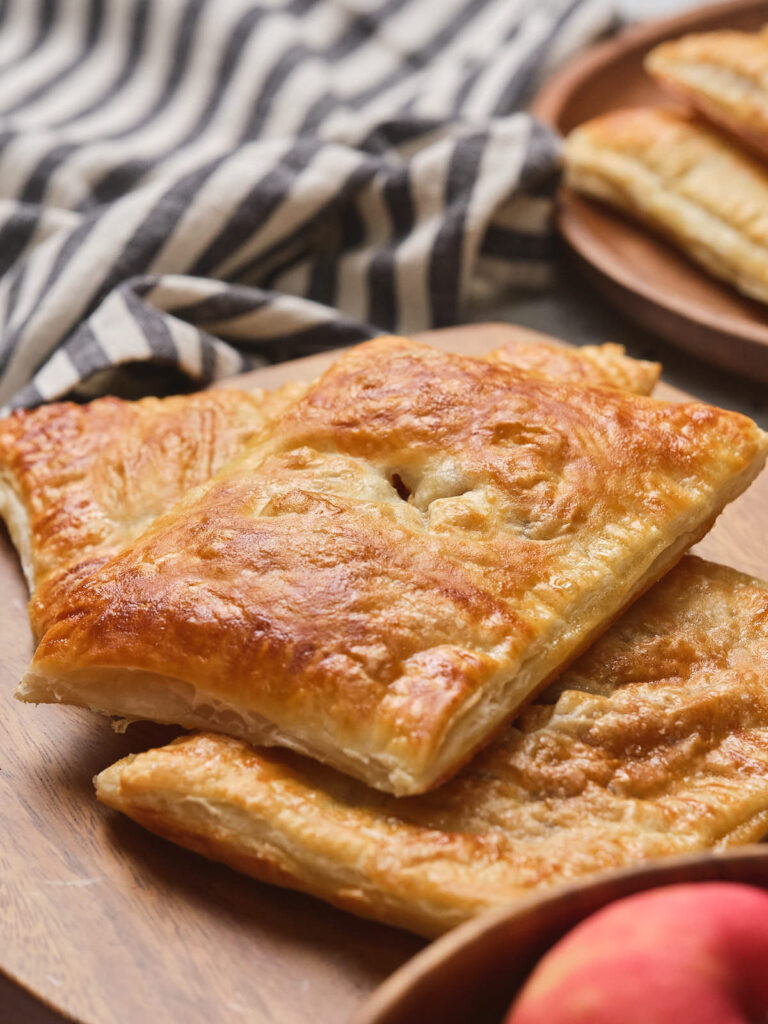
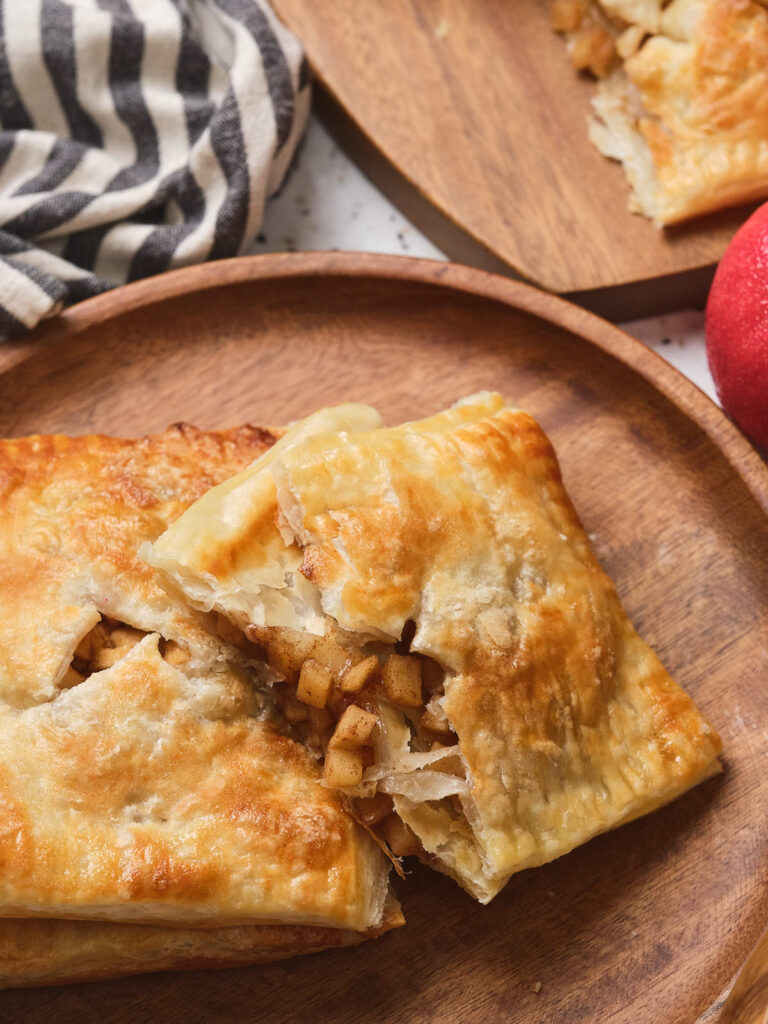
This puff pastry apple pie is apple pie like you’ve never had before. Tender, juicy, perfectly-spiced apples inside a flaky, buttery puff pastry delivers all the flavors of the classic dessert with half the effort. This melt-in-your-mouth treat is a must at your upcoming holiday celebrations, but who’s to say you can’t enjoy them year round?
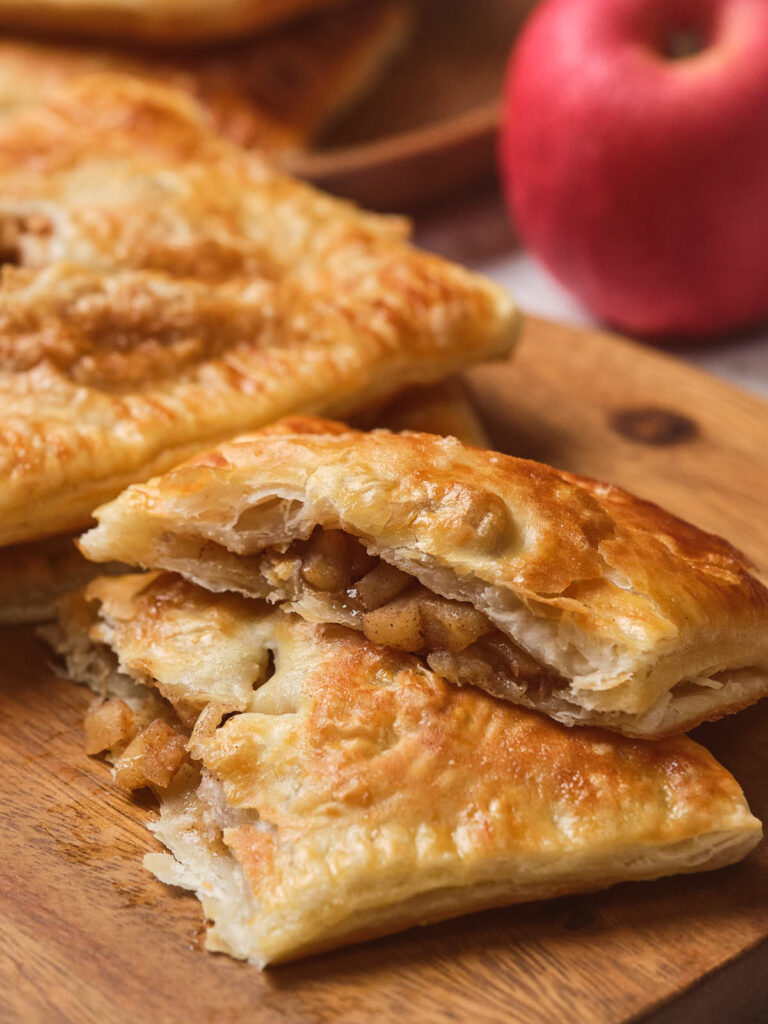
We’ve all had an apple pie at least once in our life, but not all of us have had a homemade, fresh-out-of-the-oven apple pie using puff pastry. The genius idea came to me after making a batch of my delicious puff pastry sausage rolls and having just enjoyed applesauce pancakes for breakfast.
I had some leftover puff pastry and some apples on my counter. It just clicked – wouldn’t it be amazing to coat the apples in cinnamon and make a hand pie out of it?
The result, my friends, is amazing! The soft, gooey apple pie filling inside a crispy, flaky crust is pure perfection. It’s like apple pie, but better; easier, lighter, and seriously addictive. It’s now one of my favorite apple desserts ever and it even inspired me to make another treat, apple tart with puff pastry!
These pies are perfect as a snack, dessert, or party treat. They also make a nice edible gift to your loved ones!
Why You’ll Love This Recipe
- Apple pie, simplified: You get all the traditional apple pie goodness with less ingredients and a fraction of the time to make. No need for a fancy pie dish, too, just grab a baking sheet and you’re good to go.
- Cozy and comforting: Sweet, spiced apples baked to perfection will remind you of the cozy scent of fall.
- Delicious year-round treat: Perfect for all your holiday celebrations, may it be 4th of July, Thanksgiving, Halloween, Christmas, or New Year, just like my other favorite puff pastry treats – puff pastry palmiers, puff pastry cinnamon rolls, and cream cheese danish.
- Make ahead-friendly: Prep and assemble the pies a few hours ahead of time, keep in the fridge, and just pop in the oven when ready to serve.
- Perfect for a crowd: Apple hand pies are easy to serve and convenient for guests to enjoy because of their handheld size. Easily double or triple the recipe for a bigger crowd. Make sure there’s enough for your parties and gatherings because they disappear fast!
How to Make Apple Pie Using Puff Pastry
If you love apple pies, you’ll love this more. Minimal prep time and simple ingredients make puff pastry apple pie the perfect last-minute dessert or a go-to for busy days. Impress your family and friends with a cafe-quality treat that only requires 10 minutes of active time. Leave the rest to your oven!
Scroll to the bottom of this post for a printable recipe card with a full list of ingredients, measurements, and step-by-step instructions.
Ingredients You Need
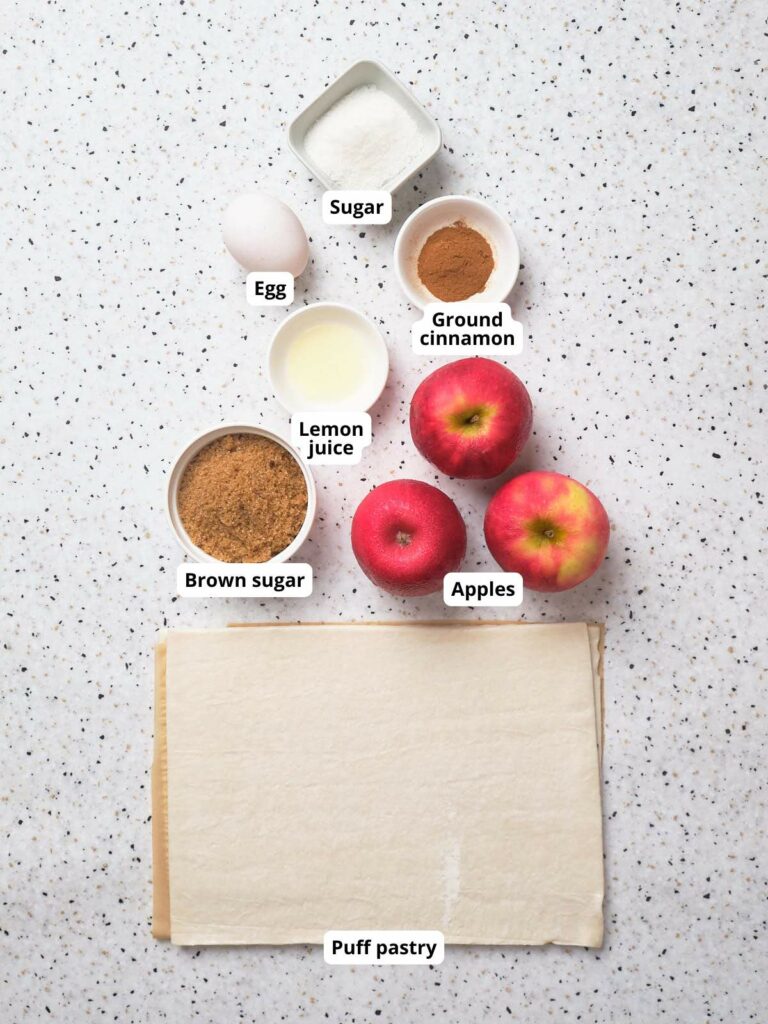
- Puff pastry: Provides the crispy, flaky crust that perfectly complements the tender apple filling. I use store-bought frozen puff pastry dough to simplify the process, but you can also make your own.
- Honeycrisp apples: Crisp, slightly sweet tart apples are best for this recipe. I use honeycrisp because they hold up well during baking. Fuji or gala apples are also among the best apples for baking. Use granny smith apples if you like your apple pie less sweet and more tart.
- Brown sugar: Deepens the sweetness of the apples with a rich, caramel-like flavor. Use light or dark brown sugar, whichever you prefer.
- Lemon juice: Prevents the apples from becoming too mushy while baking and helps balance the sweetness of the filling.
- Ground cinnamon: Brings warmth and adds a comforting fall flavor to the pie.
- Egg: Used for an egg wash, giving the puff pastry its beautiful golden-brown color.
- Sugar: Used for dusting, creating a lightly sweet, crunchy finish to the dessert.
Step-By-Step Instructions
Ready to make a delicious apple pie using puff pastry? This easy recipe comes together in 4 simple steps – coat the apples, prep the dough, add the filling, then bake to perfection. Follow the steps below and your apple hand pies are guaranteed to come out perfect!

Step 1: Coat the apples
Preheat the oven to 375 F.
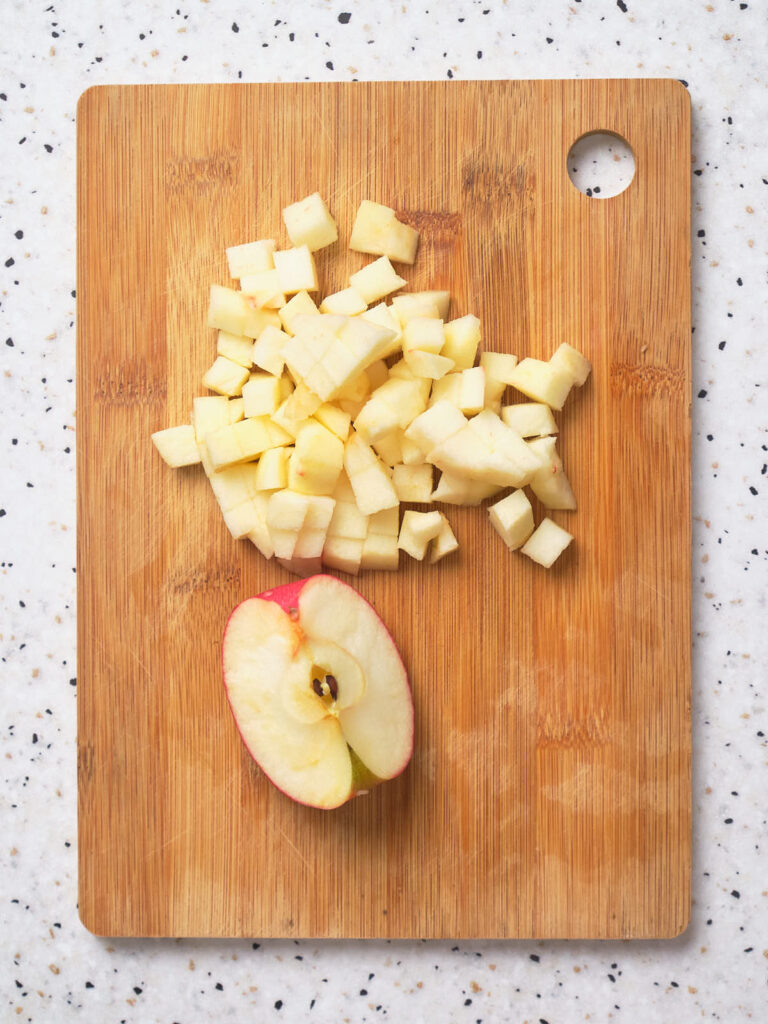
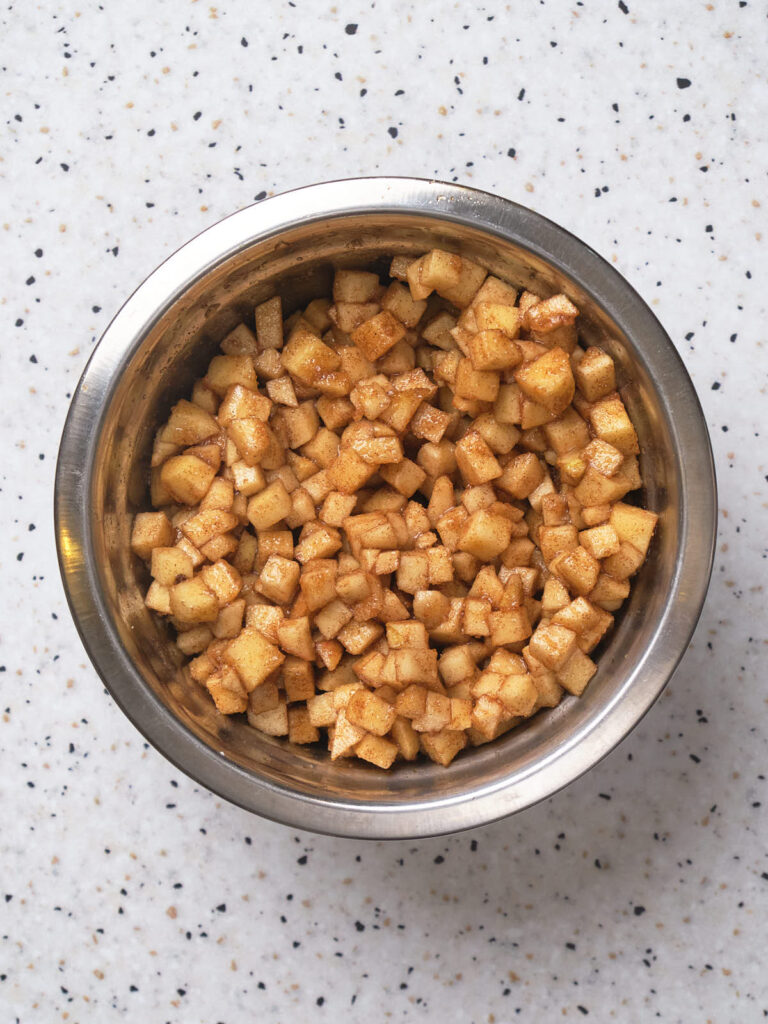
Peel, core, and dice the apples. Toss the slices in a large bowl with brown sugar, lemon juice, and cinnamon. Set aside.
Step 2: Prep the dough
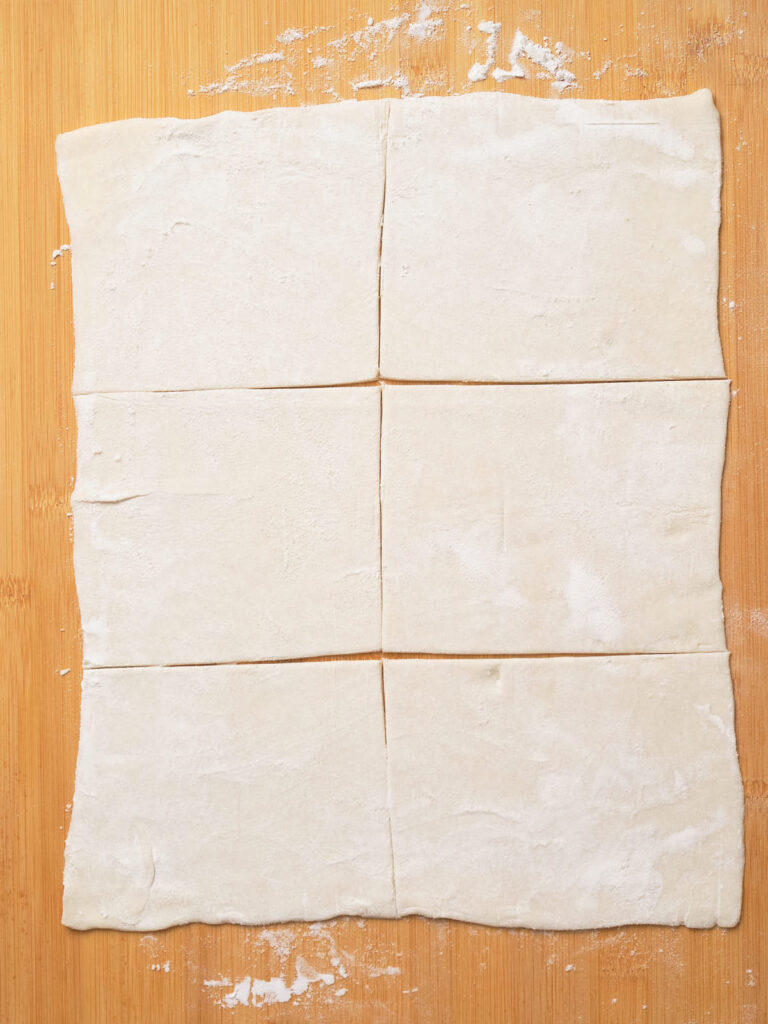
Unroll the pastry dough, which is approximately 10.5 inches by 9.75 inches, over a lightly floured surface. Divide into 6 portions, cutting the long side by 3 and the short side by 2. This yields 6 (approximately 3.5×5-inch) pies.
Set these aside (in the refrigerator if you are in a warm environment). Repeat the process with the second sheet of dough. Separate the pieces apart from each other slightly so there is room to work around them.
Step 3: Add the filling
Next, scoop approximately ¼ cup of the apple mixture and arrange it in the center of each piece of cut dough. Use a pastry brush to spread some whisked egg around the four edges of each rectangle.
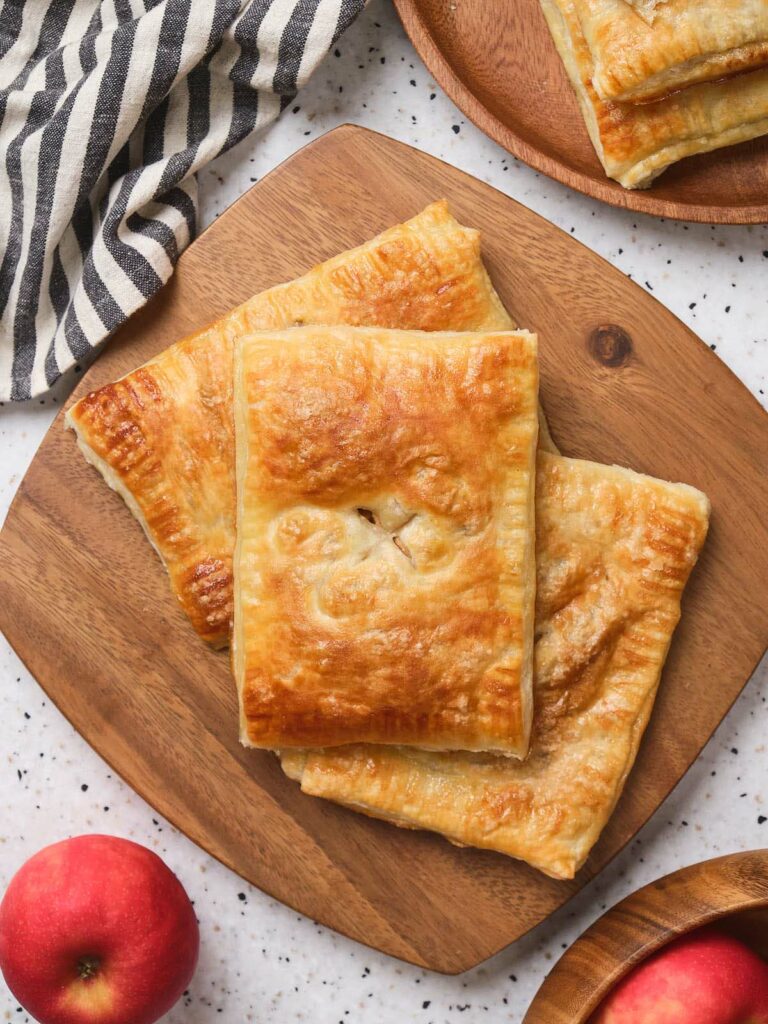
To seal the pies, cover each portion with a second rectangle of dough. Cut a 1-inch “X” shape in the top of each pie. Use the back tips of a fork and gently press the seams together all around the pie. Cutting an x in the top of the pie is helpful in letting the steam escape. Skipping this step risks moisture build up inside the pies while they bake which leads to a soggy crust.
Brush the tops evenly with the remaining egg then sprinkle sugar over all the pies and gently press it into the egg so it sticks.
Step 4: Bake the pies
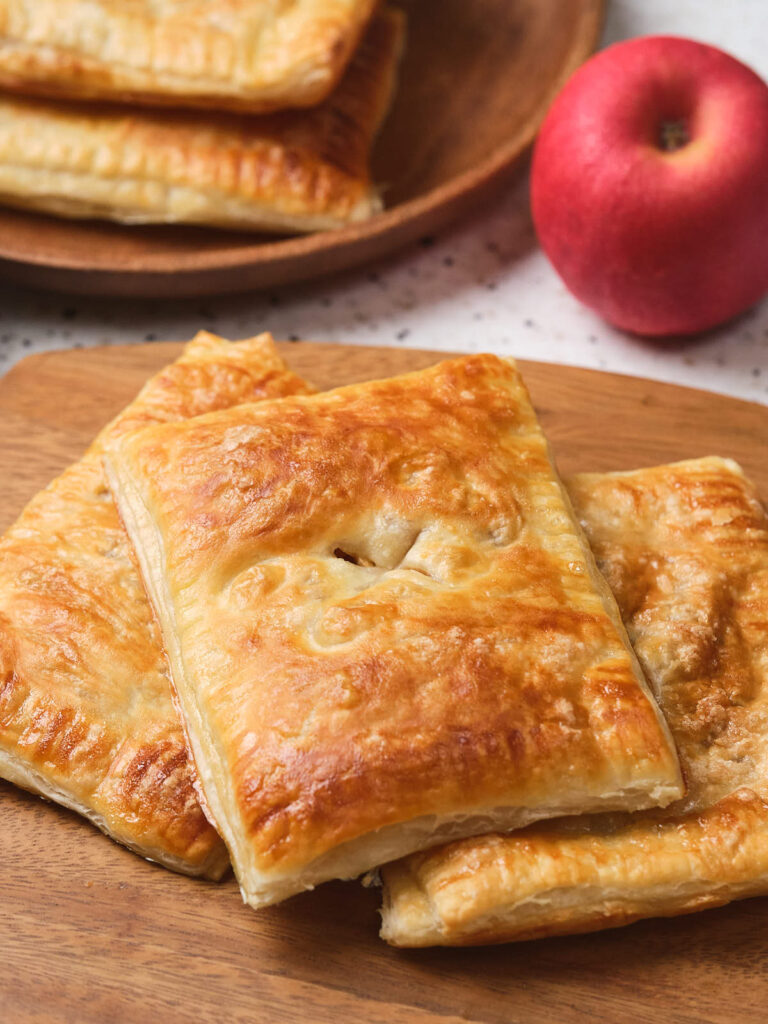
Finally, use a spatula or your hands to transfer the pies to a baking sheet. Bake for 20 minutes until puffy and golden brown. Cool slightly before serving.
Substitutions
You likely already have all the essentials for puff pastry apple pie in your kitchen. If you’re short on an ingredient or want to use something different, no worries – I’ve got some great alternatives for you!
- Puff pastry and egg: Look for a brand of puff pastry sheets that uses oil, not butter, if you want a dairy-free option. The egg wash can be substituted with 2 tablespoons of any plant-based milk.
- Ground cinnamon: Replace or combine ground cinnamon with other warm spices like ginger, nutmeg, allspice, and cardamom.
Variations
After a few batches are made, you can give your apple hand pies an upgrade with some simple tweaks. Try these flavorful variations for an even more amazing dessert!
- Stir some caramel sauce into the apple filling for a richer, more indulgent treat. You can also drizzle more caramel over the baked pies before serving.
- Add a handful of finely chopped nuts like almonds, pecans, or walnuts to the filling for a delightful crunch.
- Swap some of the apples for pears to add extra sweetness and depth in flavor. A dash of ground ginger will complete the combo!
- Mix in a handful of blueberries to the filling for a nice burst of color and texture.
- Add a chocolate surprise! Mix in small chunks of milk or dark chocolate to the mix!
- Apple pandowdy is a similarly easy spin on traditional apple pie, but takes more of a deconstructed approach and is baked in a skillet or baking dish.
Expert Tips
- Leave the skin on: Don’t peel the apples when you make puff pastry apple pie next time. Just give it a try – the color, flavor, and texture are better!
- Keep the dough cold: After thawing the dough, keep it refrigerated until ready to use. It should be cold when you work with it; otherwise, it can become very sticky and difficult to use if it’s left out at room temperature too long.
- Don’t overfill: While it’s tempting to add extra apples, overstuffing the hand pies can cause the filling to leak out. Leave a little space at the edges when placing the filling inside.
- Adjust the sweetness: Use more or less sugar depending on your taste or the type of apple you’re using.
- Cool before serving: After baking, let the hand pies cool for a few minutes before serving. This allows the filling to set and prevents it from being too hot to handle.
How to Store This Recipe
Transfer leftovers into an airtight container and refrigerate for up to 4 days, or freeze up to 1 month. When ready to use, reheat in the oven at 350 F for 10 minutes, or until warmed through.
You can also freeze unbaked pie to use later. Just place it in a freezer-safe container and store in the freezer for up to 1 month. It’s best to bake from frozen when ready to use. Transfer the pies to a baking sheet and proceed as instructed in step 4.
What to Serve with Puff Pastry Apple Pie
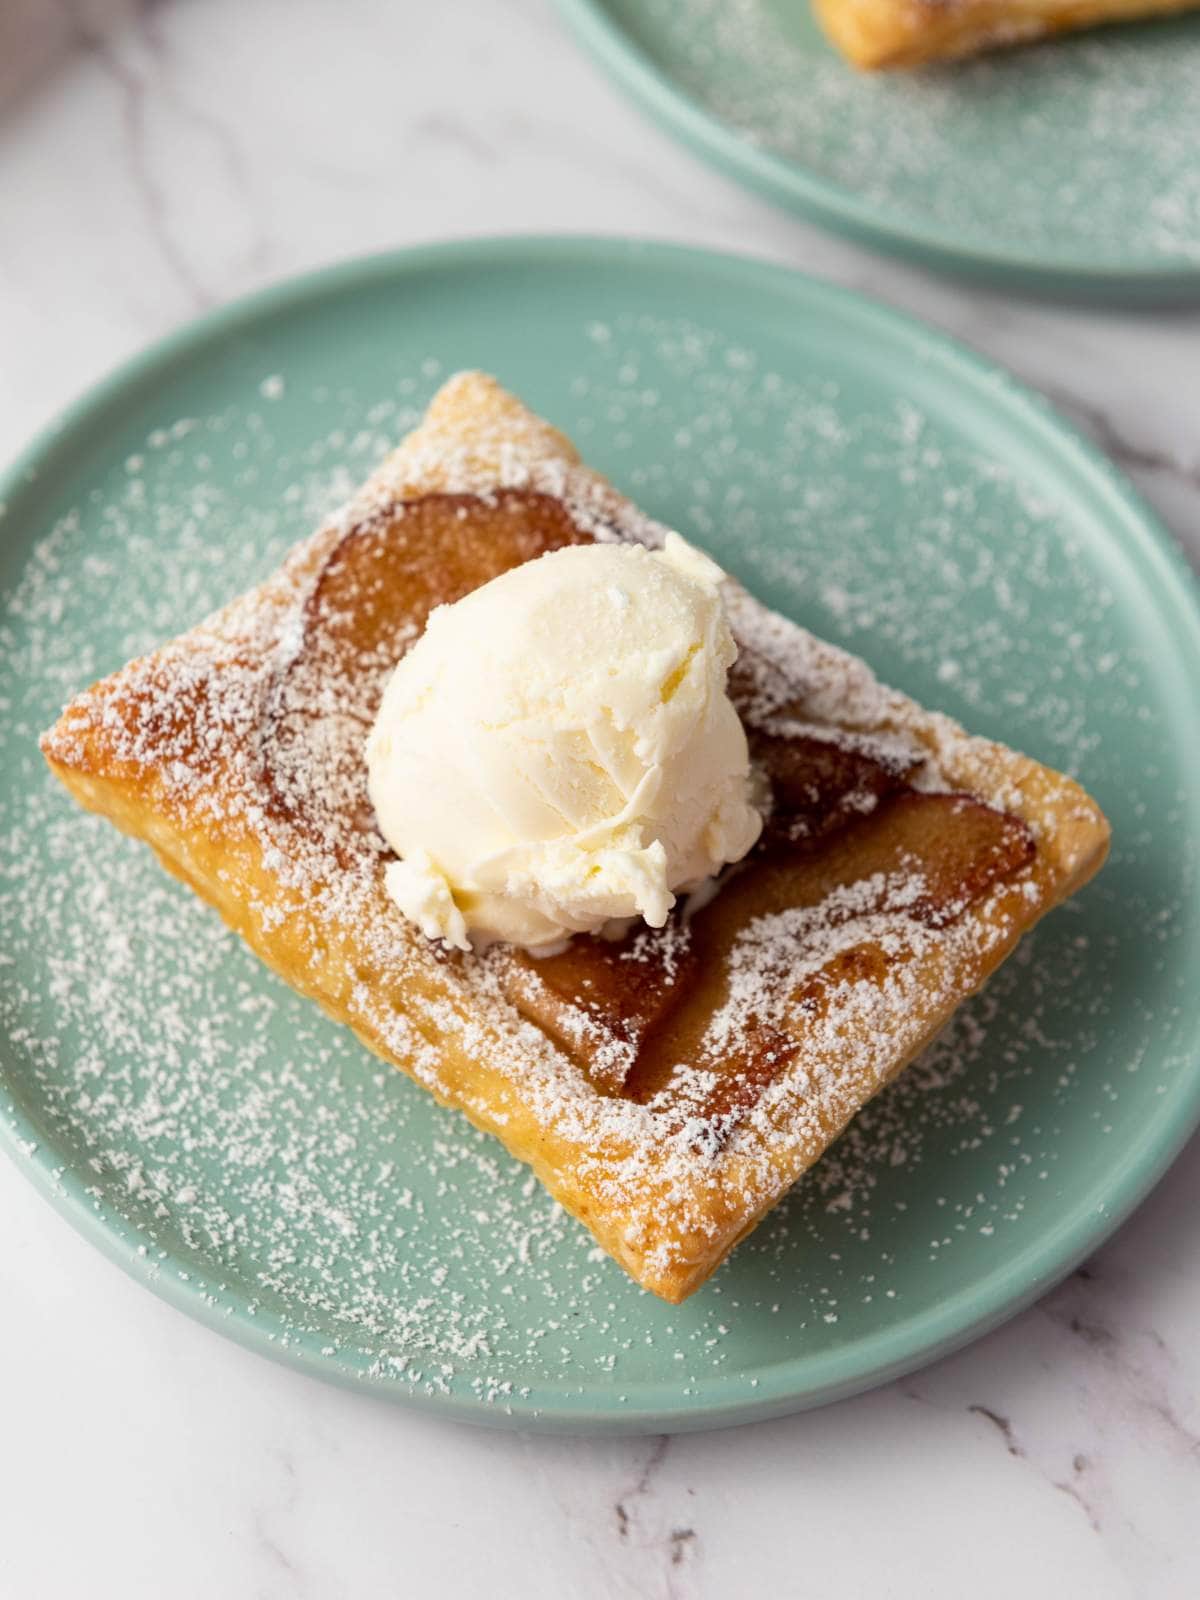
Enjoy apple hand pies as you would a traditional apple pie. They’re delicious as is, but even better when served warm with a scoop of vanilla ice cream, a dollop of whipped cream, or a drizzle of salted caramel on top. Like pecan pie, these are great for Thanksgiving spreads. Serve them with other seasonal treats like pumpkin dump cake and pumpkin brownies.
More Sweet Treats To Try
If you make this apple pie using puff pastry, please leave a review. I really appreciate each and every 5-star rating and review comment!

Puff Pastry Apple Pie Recipe
Video
Ingredients
- 2 sheets puff pastry thawed in the refrigerator overnight
- 12 ounces honeycrisp apples 3 medium
- ½ cup brown sugar
- 1 teaspoon lemon juice
- 1 teaspoon ground cinnamon
- 1 whole egg whisked
- 2 tablespoons sugar for dusting
Instructions
- Preheat the oven to 375 °F.
- Peel, core, and dice the apples. Toss in a bowl with brown sugar, lemon juice, and cinnamon. Set aside.
- Unroll the pastry dough over a lightly floured surface. Divide into 6 portions, cutting the long side by 3 and the short side by 2. Set these aside (in the refrigerator if you are in a warm environment).
- Repeat the process with the second sheet of dough. Separate the pieces apart from each other slightly so there is room to work around them.
- Scoop approximately ¼ cup of filling and arrange it in the center of each piece of cut dough. Use a pastry brush to spread some whisked egg around the four edges of each rectangle.
- Cover each portion with a second rectangle of dough. Cut a 1-inch “X” shape in the top of each pie. Use the back tips of a fork and gently press the seams together all around the pie.
- Brush the tops evenly with the remaining egg. Sprinkle sugar over all the pies and gently press it into the egg so it sticks.
- Use a spatula or your hands to transfer the pies to a baking sheet. Bake for 20 minutes until puffy and golden brown. Cool slightly before serving.
Notes
- Don’t peel the apples when you make puff pastry apple pie next time. Just give it a try – the color, flavor, and texture are better!
- After thawing the dough, keep it refrigerated until ready to use. Otherwise, it becomes very sticky and difficult to use.
- While it’s tempting to add extra apples, overstuffing the hand pies can cause the filling to leak out. Leave a little space at the edges when placing the filling inside.
- Use more or less sugar depending on your taste or the type of apple you’re using.
- After baking, let the hand pies cool for a few minutes before serving. This allows the filling to set and prevents it from being too hot to handle.


I’ve made these many times and my Husband loves them. Clean up is a breeze when you line your cookie sheet with Parchment Paper. Try it you will like it.
That’s such a great tip, thank you for sharing! I’m so glad you and your husband love the recipe, and yes, parchment paper makes cleanup so much easier.